

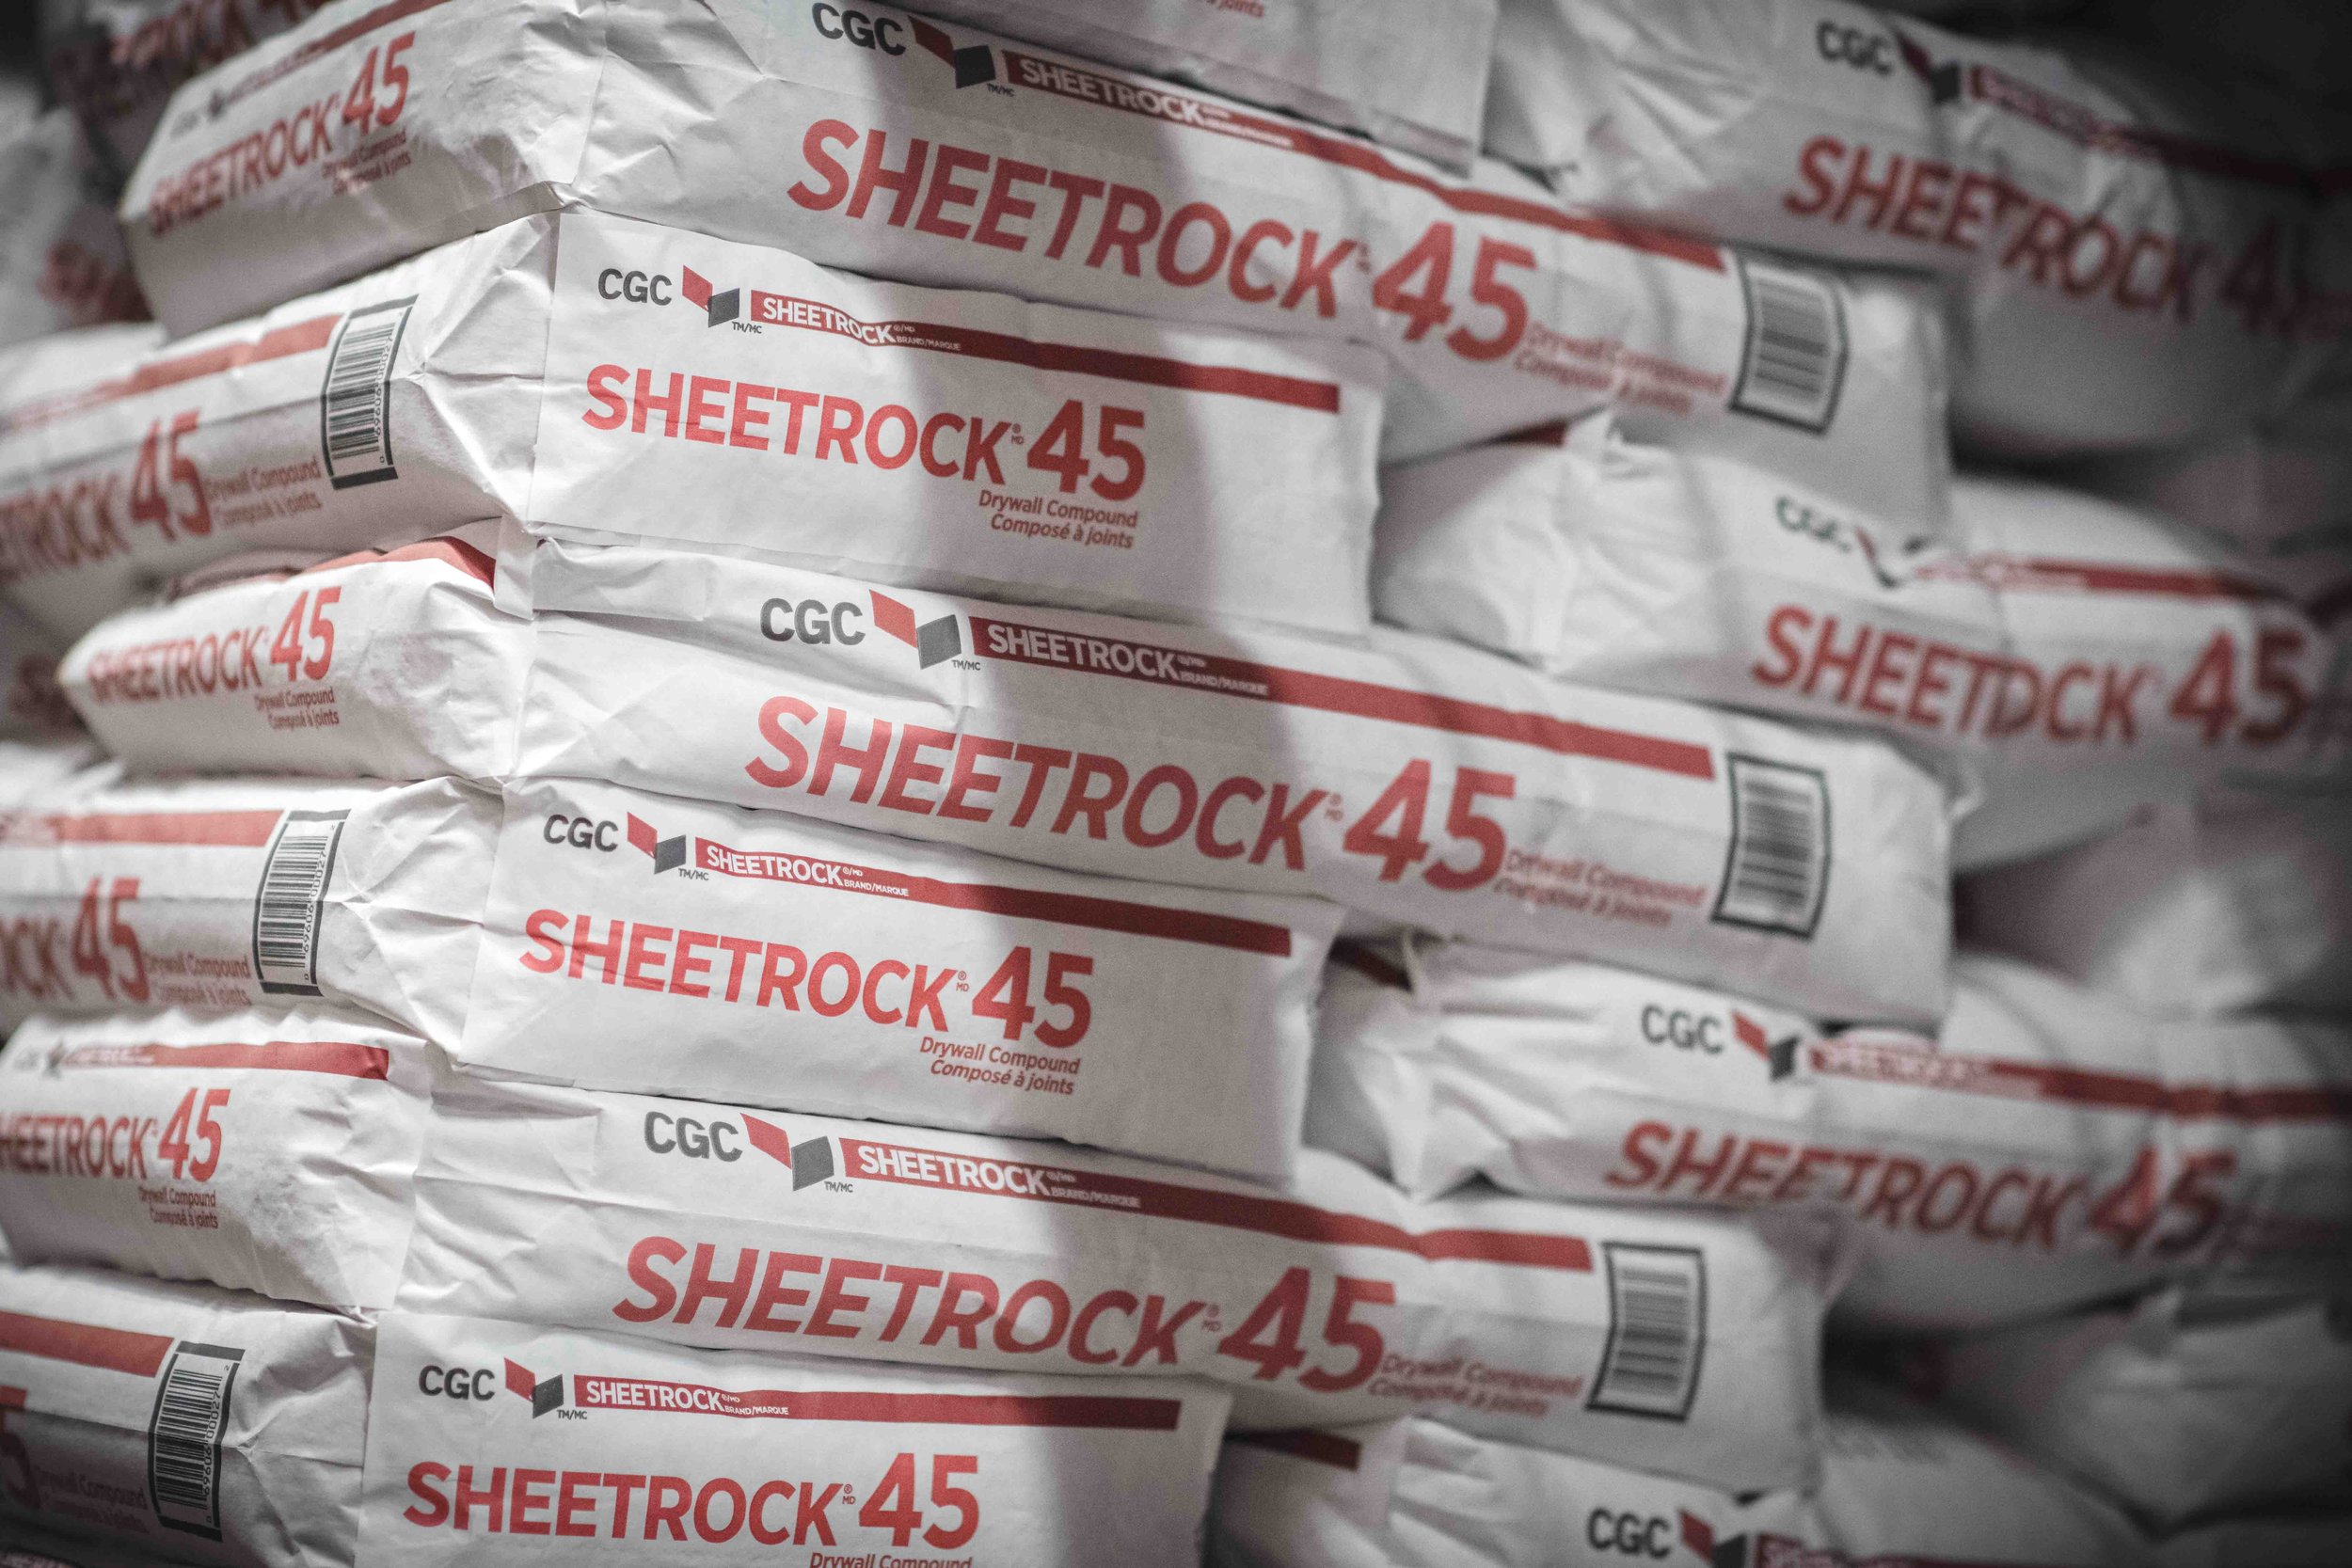
Here we see sheets of stacked drywall at the local Home Depot here in Ottawa. They come in four different types: Standard, fire resistant, mold resistant, and sound resistant, and moisture resistant.
Construction Materials - Drywall
Subject: Construction, Exploring Technology
Objective: Students will understand the foundational theory and applied concepts surrounding the safe handling, installation, maintenance, and repair of drywall. These standards are to be cross-referenced with the OCTE Standards linked here, and confirmed with the documentation which is printed in the administration kept in the classroom itself. No student should operate any equipment without adhering to the standard operating procedures, shop safety rules, and all work, setup, maintenance, and other such shop activities must be done with the express foreknowledge and approval of the appropriate respective workshop teacher under supervision and during shop hours.
FOR OFFICIAL STANDARDS OF REFERENCE PLEASE LOOK TO THIS LINK BEFORE CONTINUING
Drywall - What is it?
Put simply, drywall is a component of interior walls and ceilings, and generally it is the element which aside from its paint or alternative coating, such as wallpaper, is the outermost covering of a finished wall. It can be called by a good many names, things like “wallboard,” or “plasterboard,” but it is generally comprised of two stiffer papers on the outside - the front called the “facer,” and the rear called the “backer,” and the interior of the product is a compound is called “gypsum” which is composed of a non-combustible mineral, specifically calcium sulfate dihydrate. Fear not, none of this will be on any of our tests, it’s just here for your personal interest.
Why do we USE IT AND WHAT’S ITS HISTORY?
Well I could write about its history, but there’s actually a really cool video I stumbled upon right here, check it out:
Sizing and Types:
So, you have interior walls… now what do you put on them? Well that depends on what your needs are. Do you need to stop sound? Is moisture a particular concern? Will you be the next up and coming rock band? Perhaps you’ll be developing the next NOT flamethrower for Elon Musk? Well the choice starts with determining the nature of drywall you need because there are four categories of drywall:
Standard, Fire Resistant, Mold Resistant, and Sound Resistant
After that we have to decide what size suits your needs, which can come down to looking at the features of your framing and accounting for not only the rooms, but considerations for how you’ll get the supplies to the rooms being finished! After all, a discount on 4x12 drywall doesn’t help you one bit if you can’t fit the sheets onto the freight elevator. Here’s a breakdown of the common drywall sizings with some of their features
4x8 Foot Sheets
These are by far the most versatile size and easily found at retailers, you can find these at every Home depot in the land or their equivalent. You can install them easily both vertically or horizontally, and they’re easy to cut in place to other sizes.
4x10 Foot Sheets
These can save you time simply by virtue of the fact that they cover more space. The fact that they’re smaller than the 4x12’s makes them still easier to get into some areas, and they’re actually smoother.
4x12 Foot Sheets
These are the longest sheets available, and obviously will cover the largest surface areas in the shortest time. However, they can be the most difficult to work with, and the most costly if there is any type of mishap in delivery.
Tools of the trade
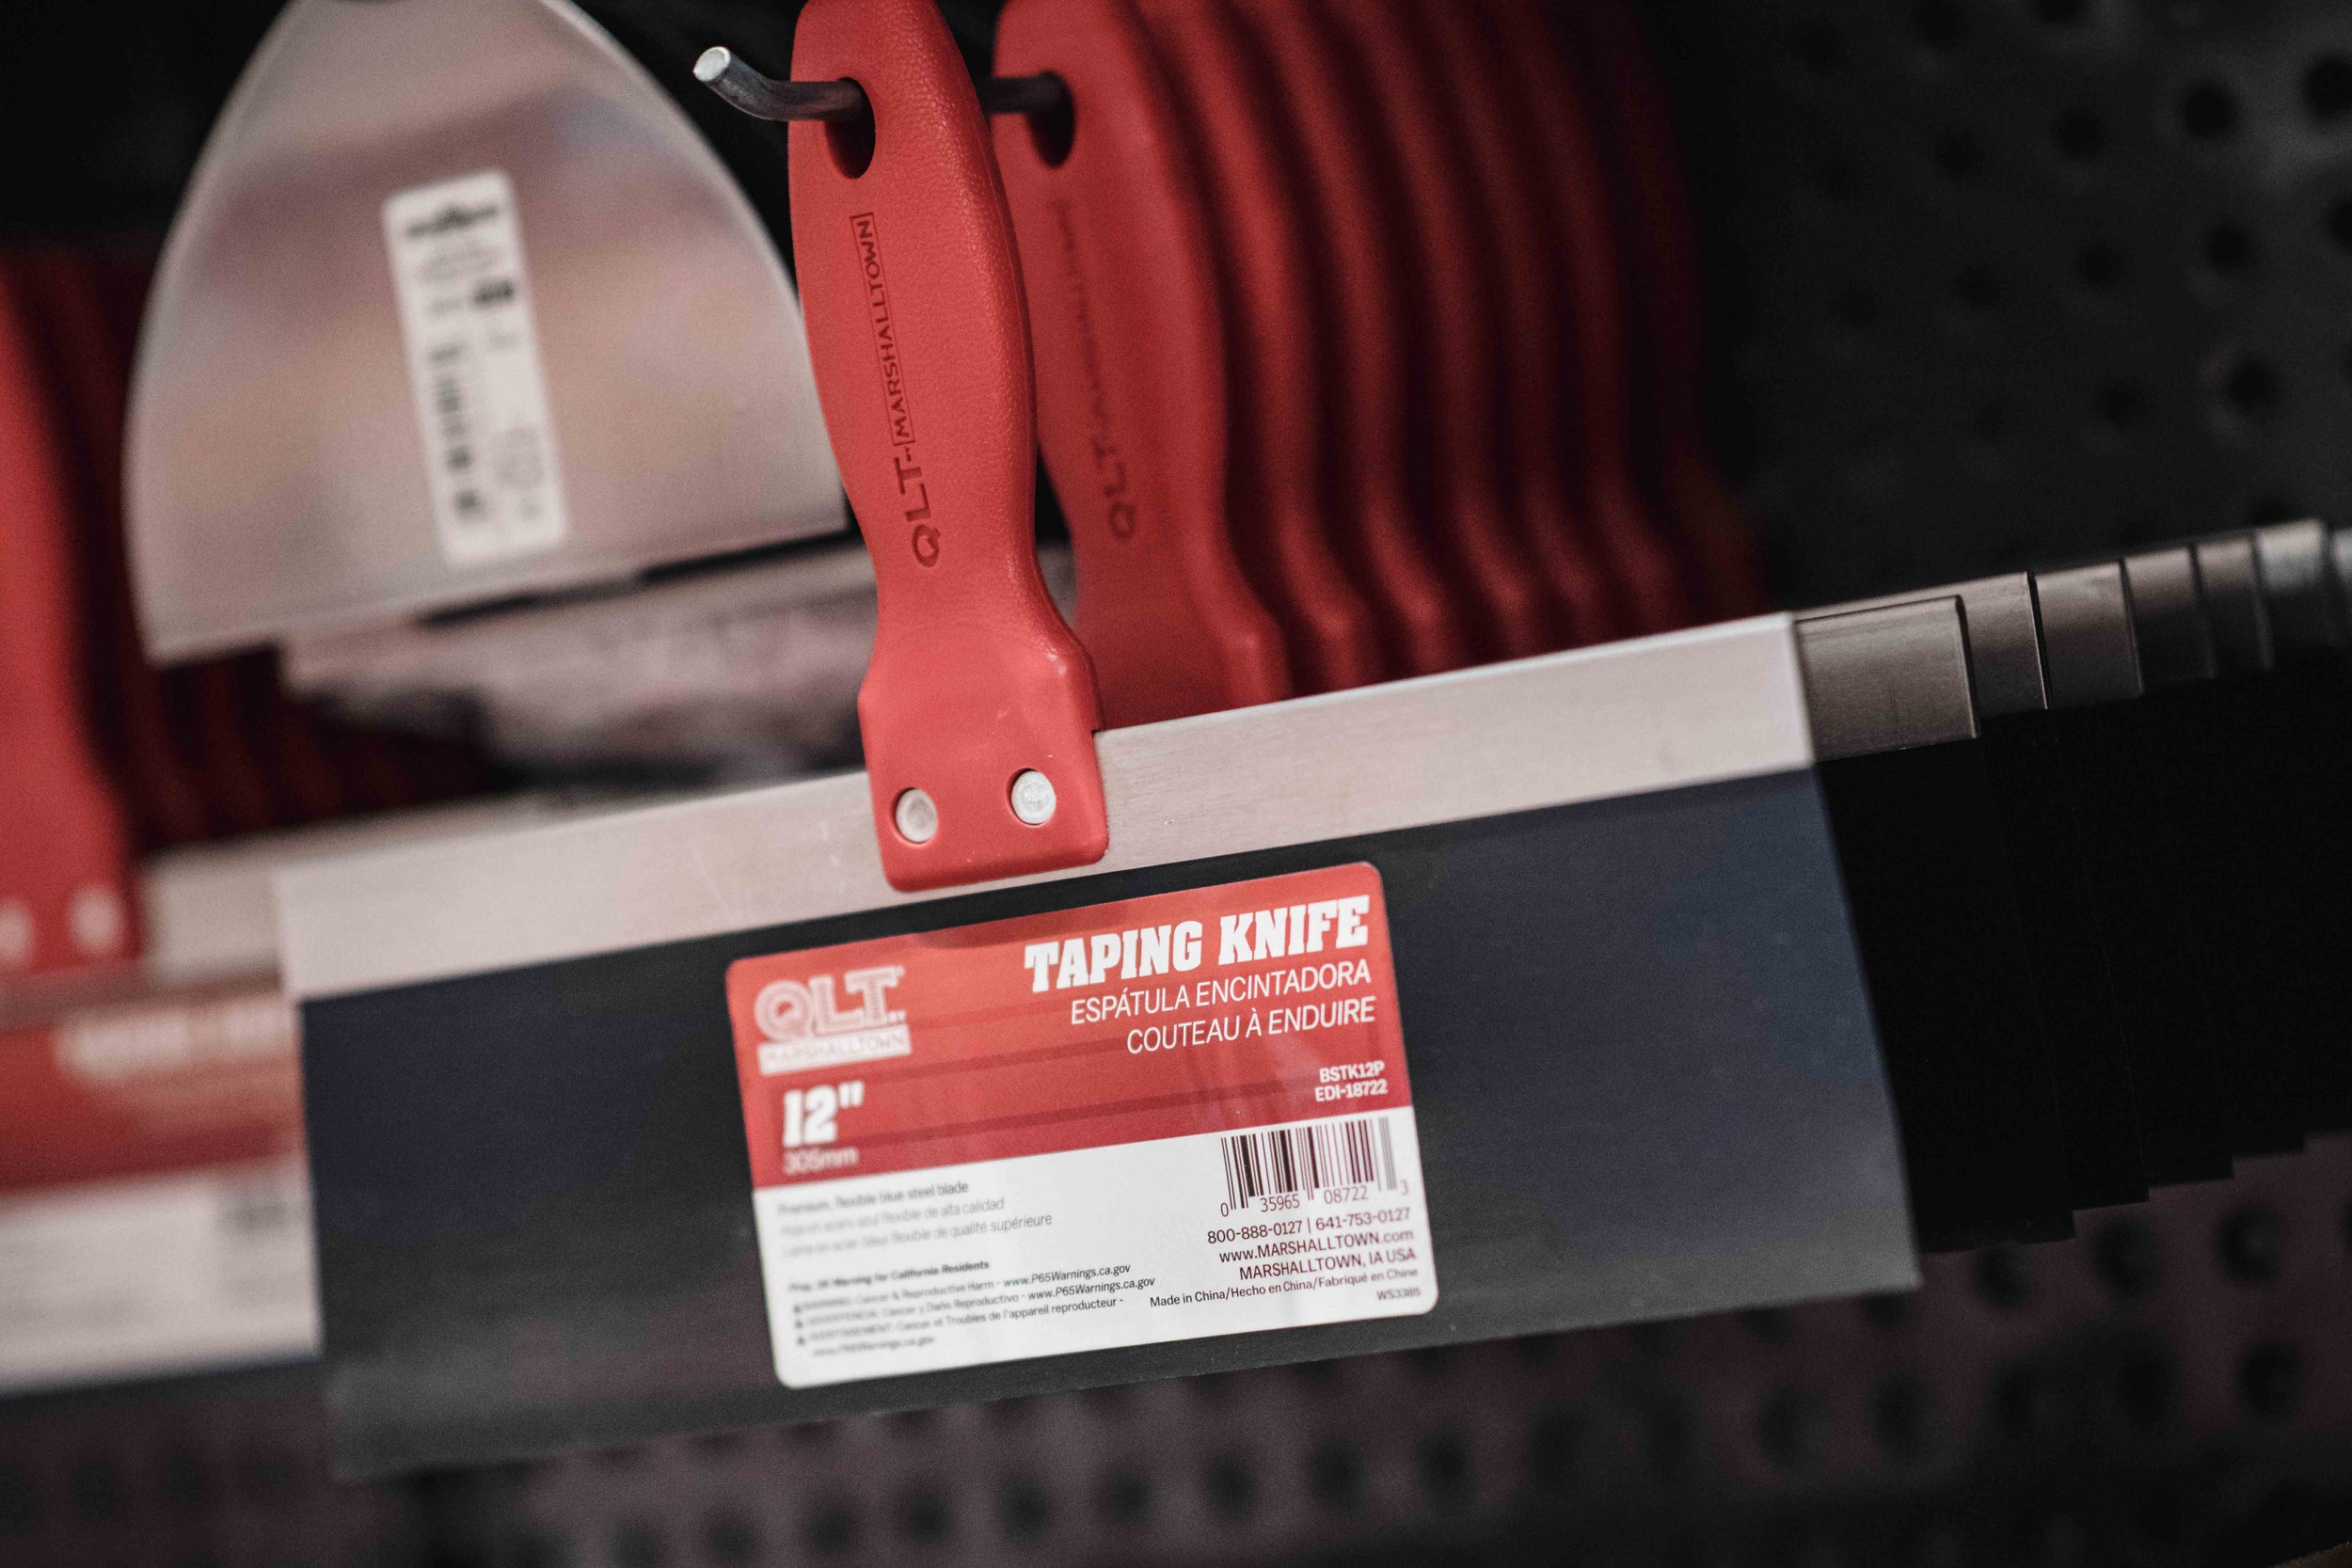
Drywall Knife - A longer blade knife where the … These are typically pretty inexpensive, but generally very useful to have. You can find them at any home hardware type store such as Home Depot, Canadian Tire, Walmart, etc. Do be careful however, much like any blade, they are sharp, so handle with care.
Utility Knife/Box Cutter - These are particularly helpful in cleaning up the edges, especially if you’ve done bigger cuts with something rough like a drywall knife (see above). They are also pretty much a must-have for cutting sections out of large sheets of drywall. Some offer the convenience of exposing only a portion of the blade to wear so that you can snap off that portion when it becomes dull, and then dispose of it, extending the blade to a new portion which will be sharp. Please be incredibly careful when doing so and wear the appropriate personal protective equipment, and also dispose of the blade segments appropriately! Always store all blades in a retracted state, in a location where they are indicated, and away from children, etc.
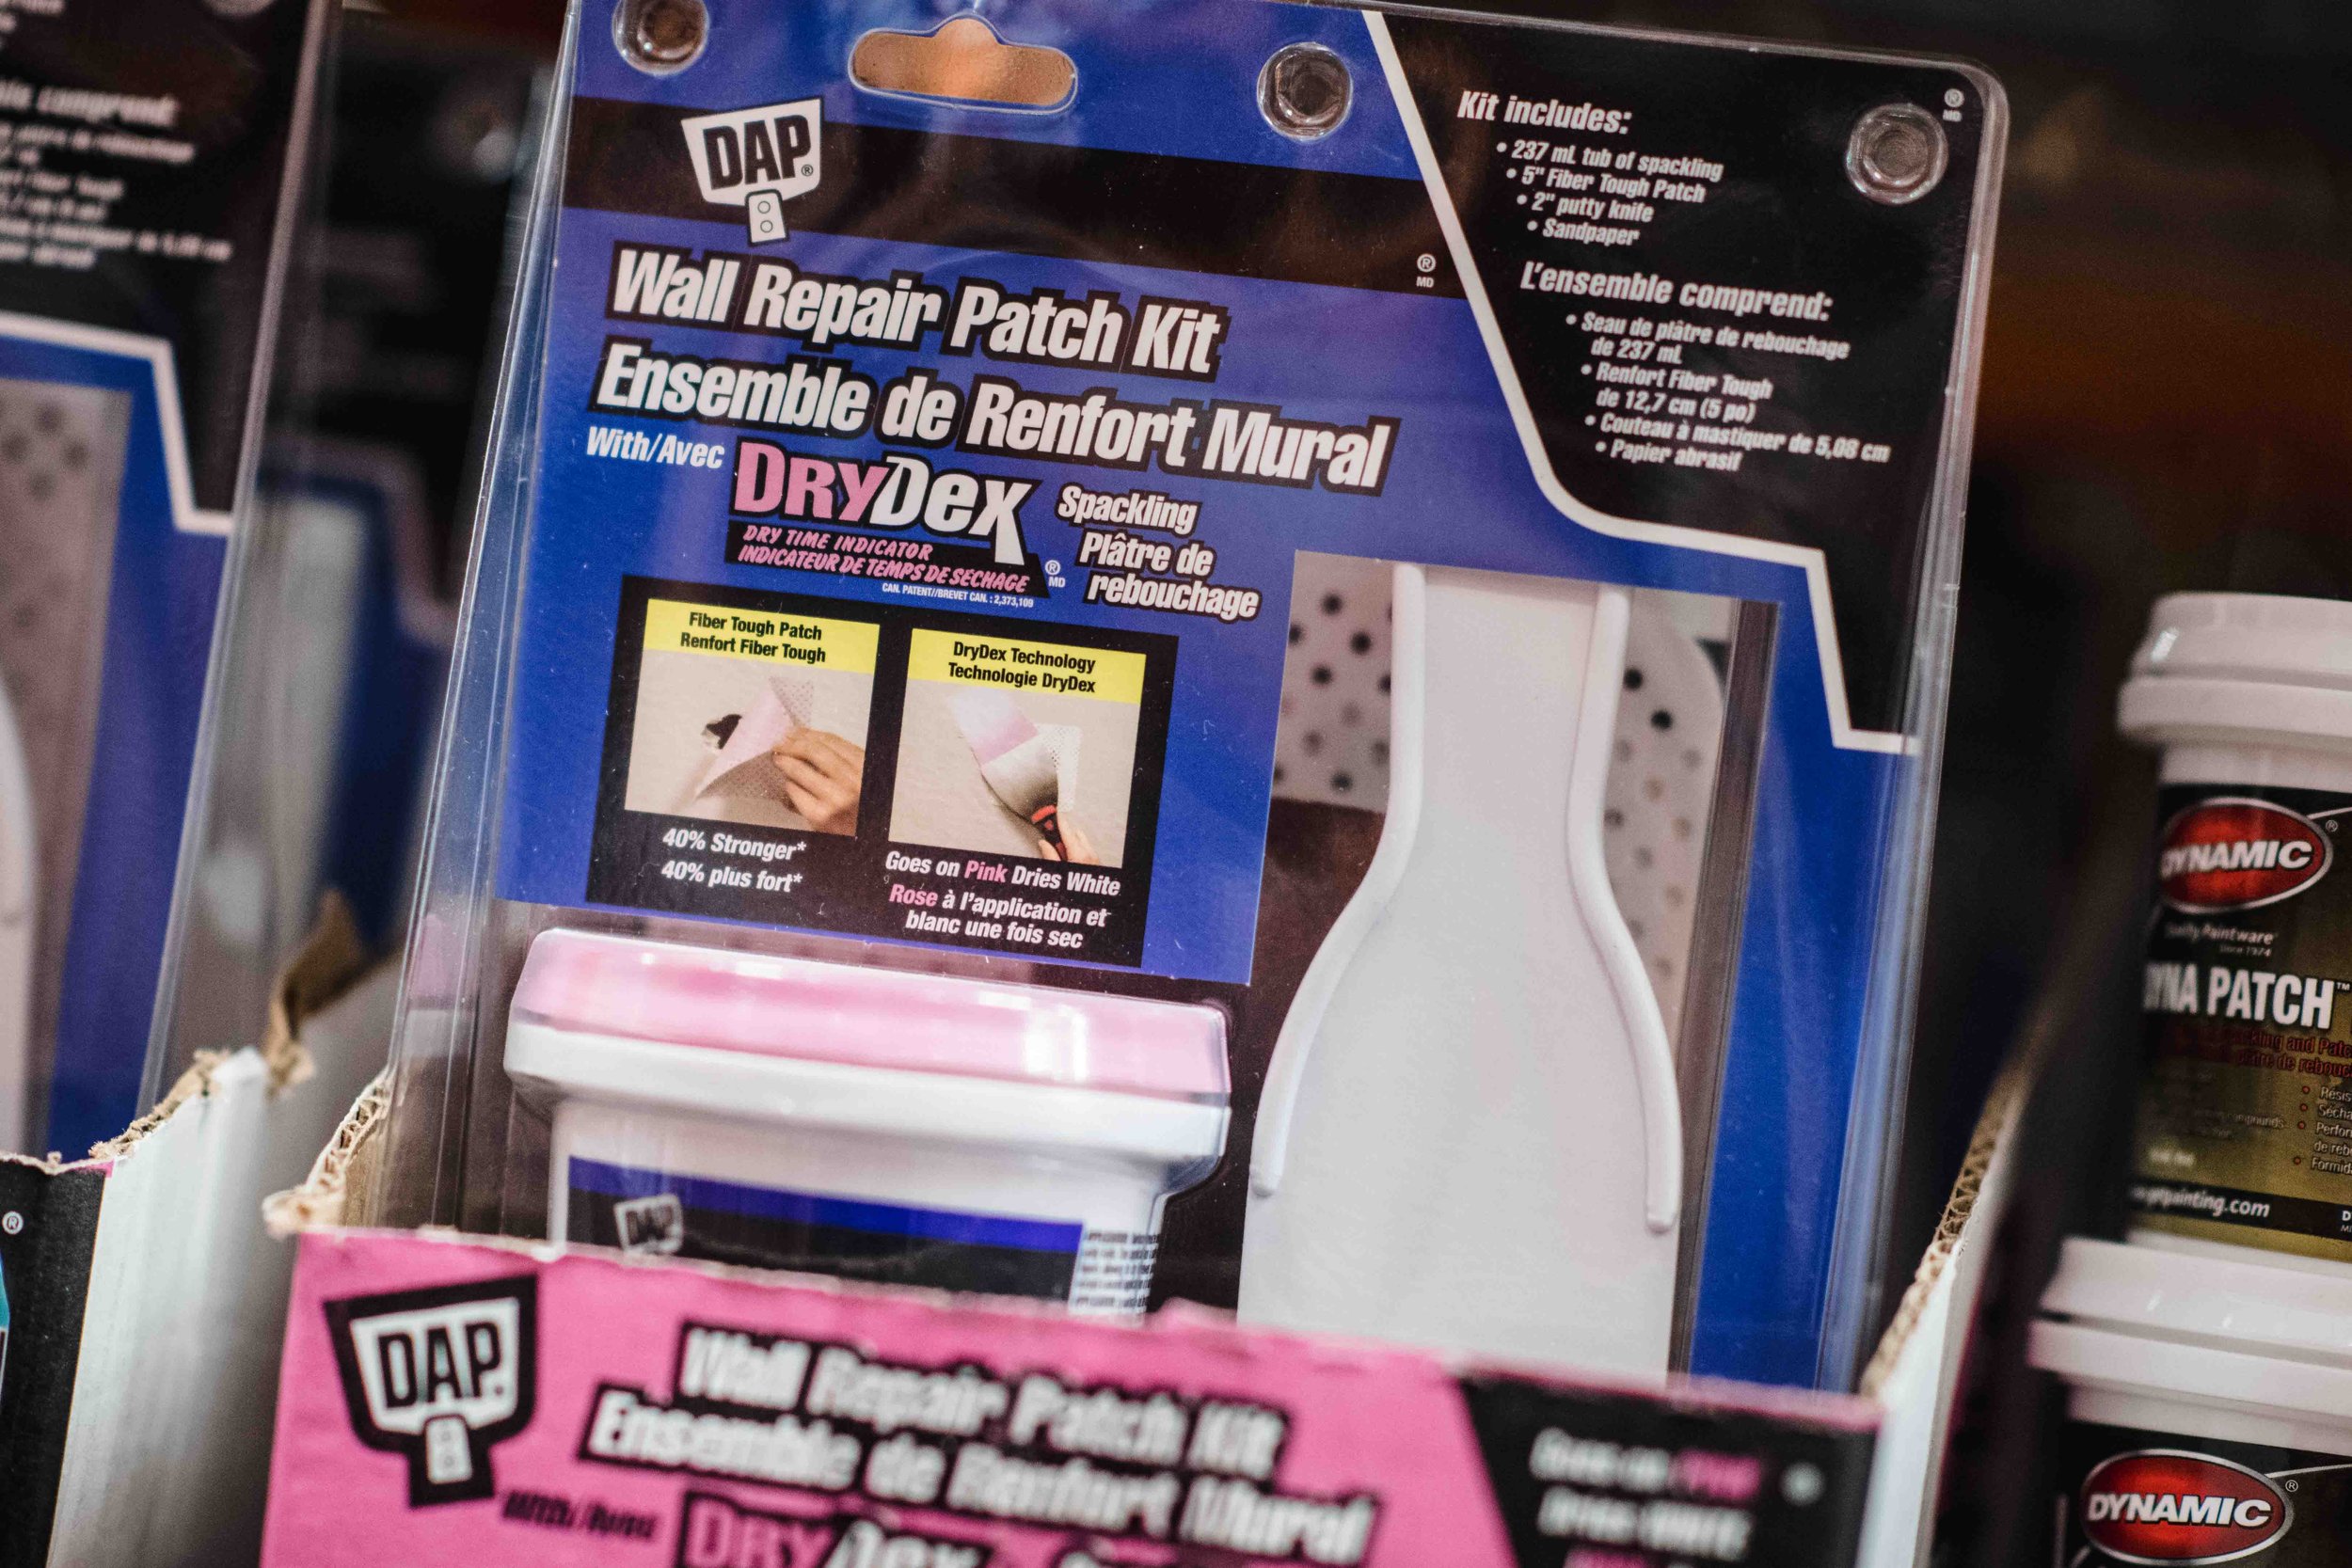
Drywall Compound - This is used to repair damage to drywall or cover the heads of drywall screws/nails, as well as finish panel joints/beads, fastners, etc. It has a variety of other applications, and can be used for adhesive purposes, but generally those are its primary uses.
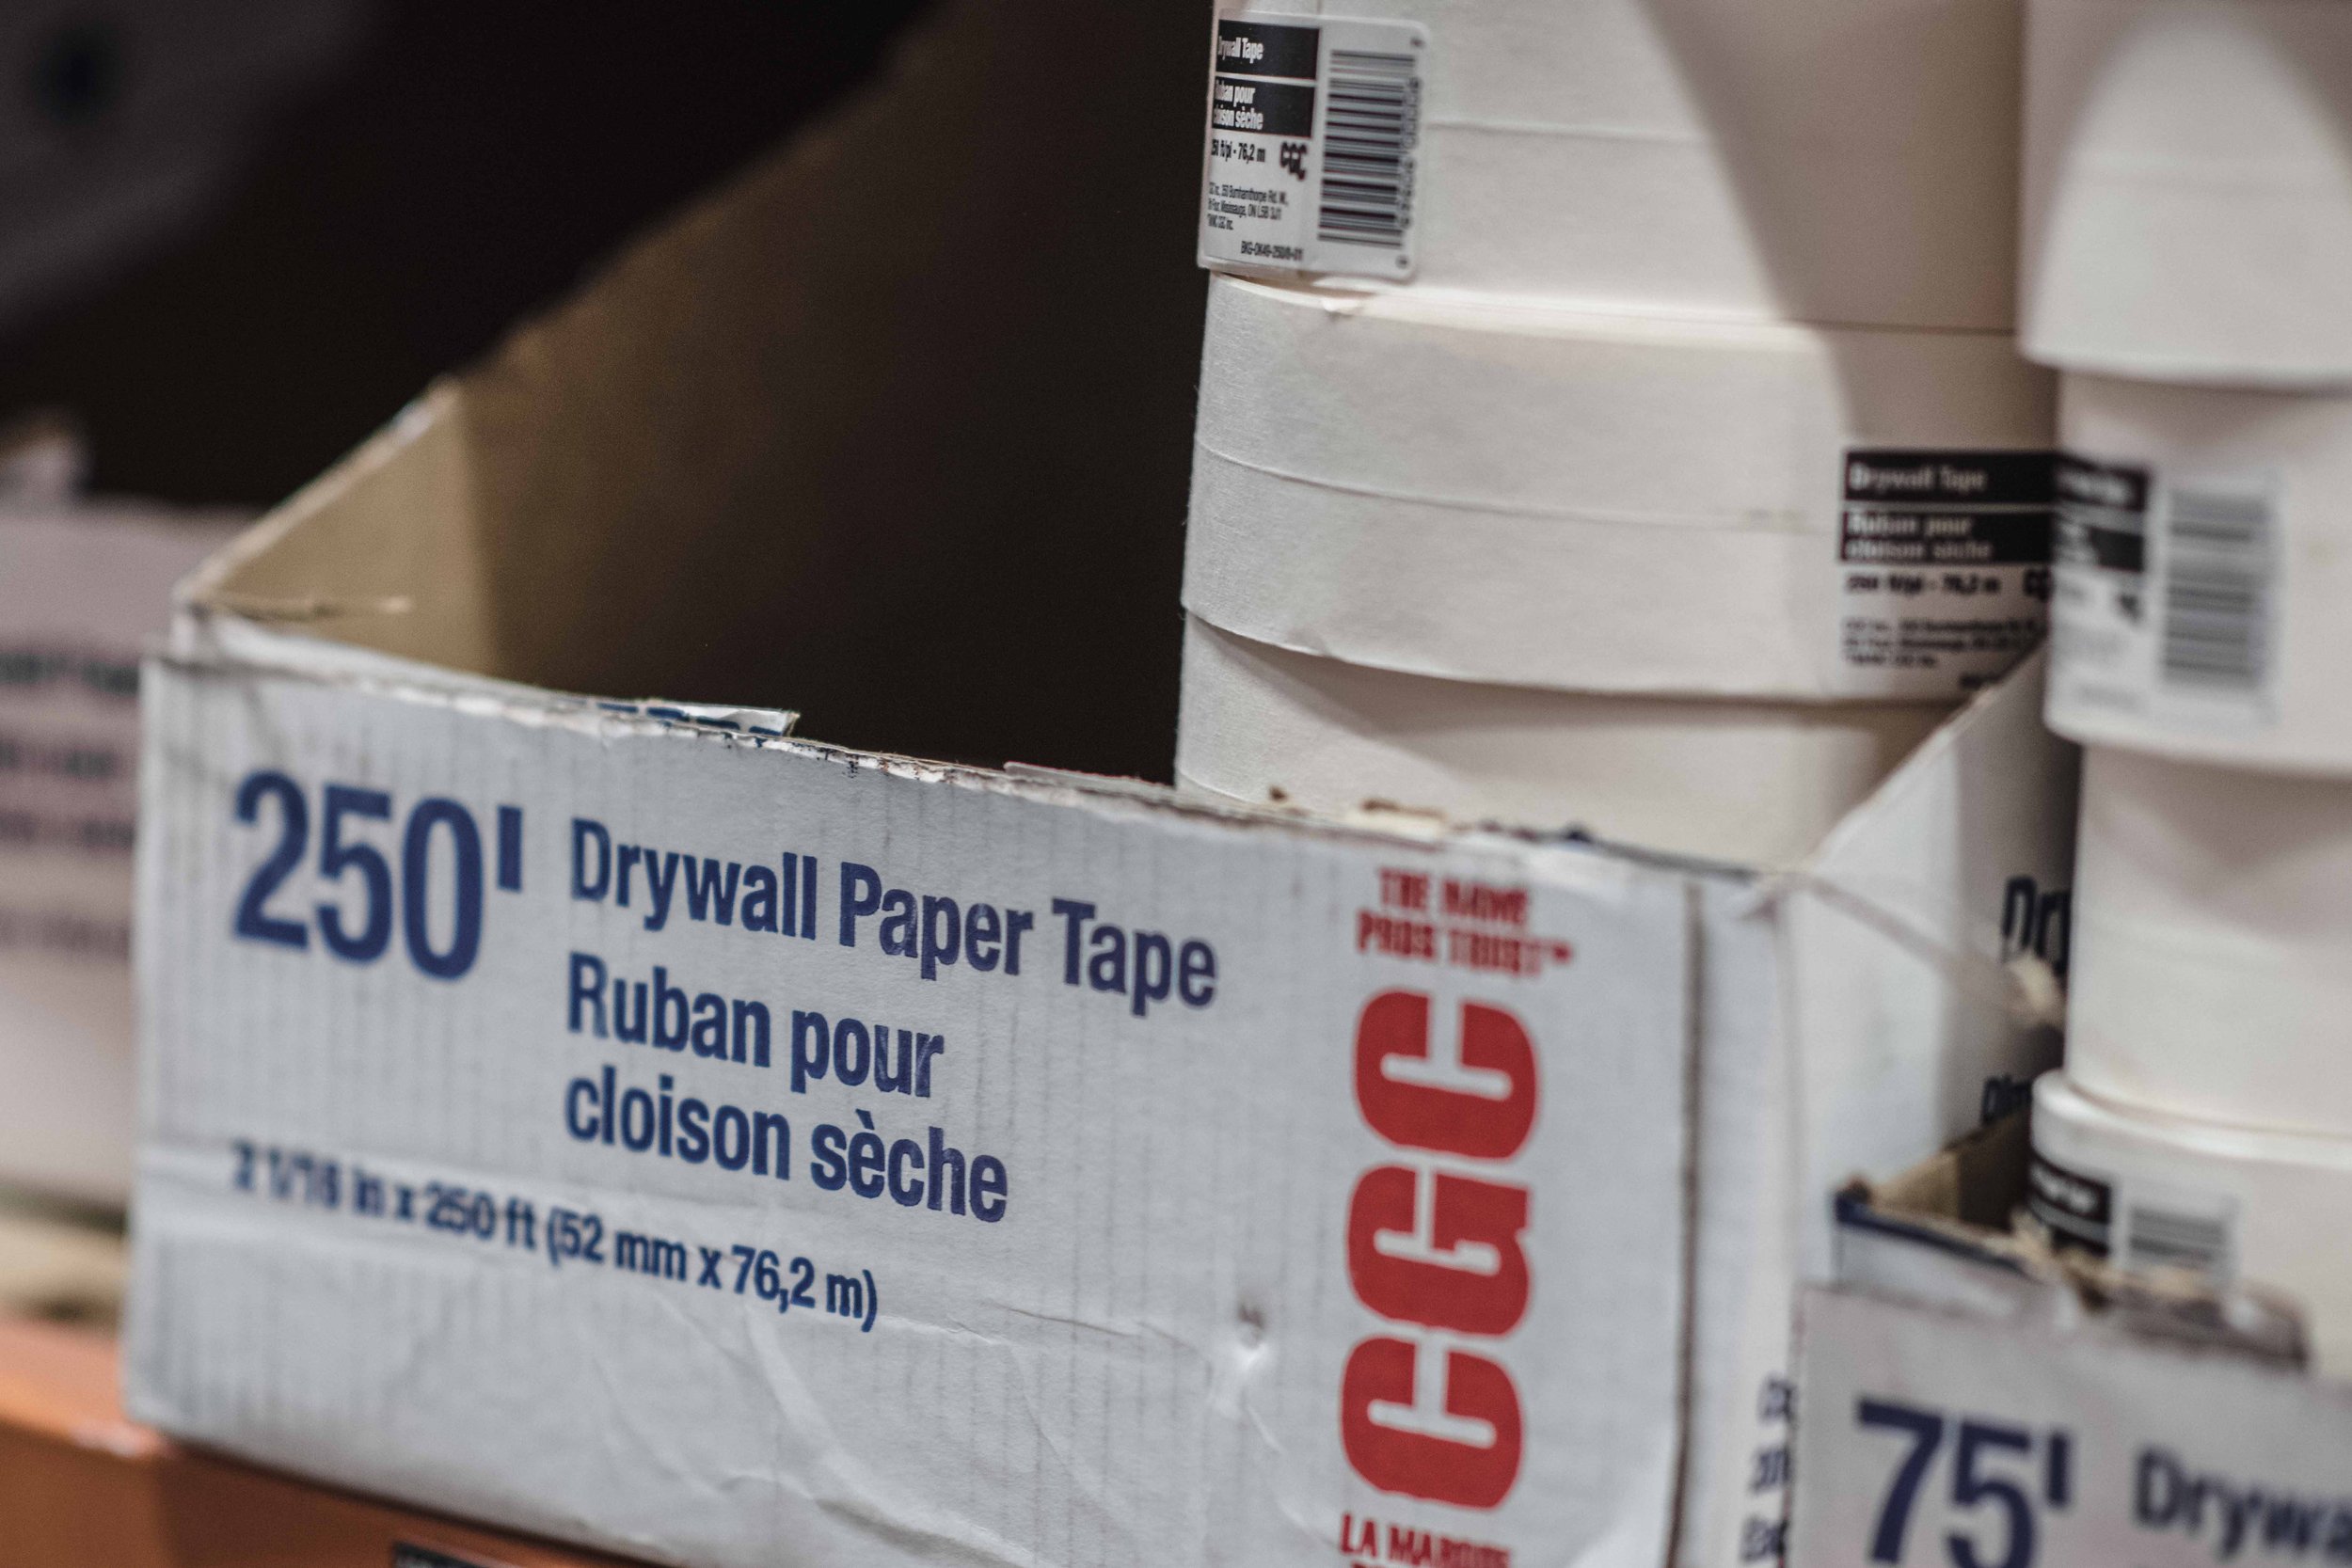
Drywall Tape - Tape is generally used to adhere neighbouring pieces of drywall. It covers the joint and is adhered by compound or putty of some nature.
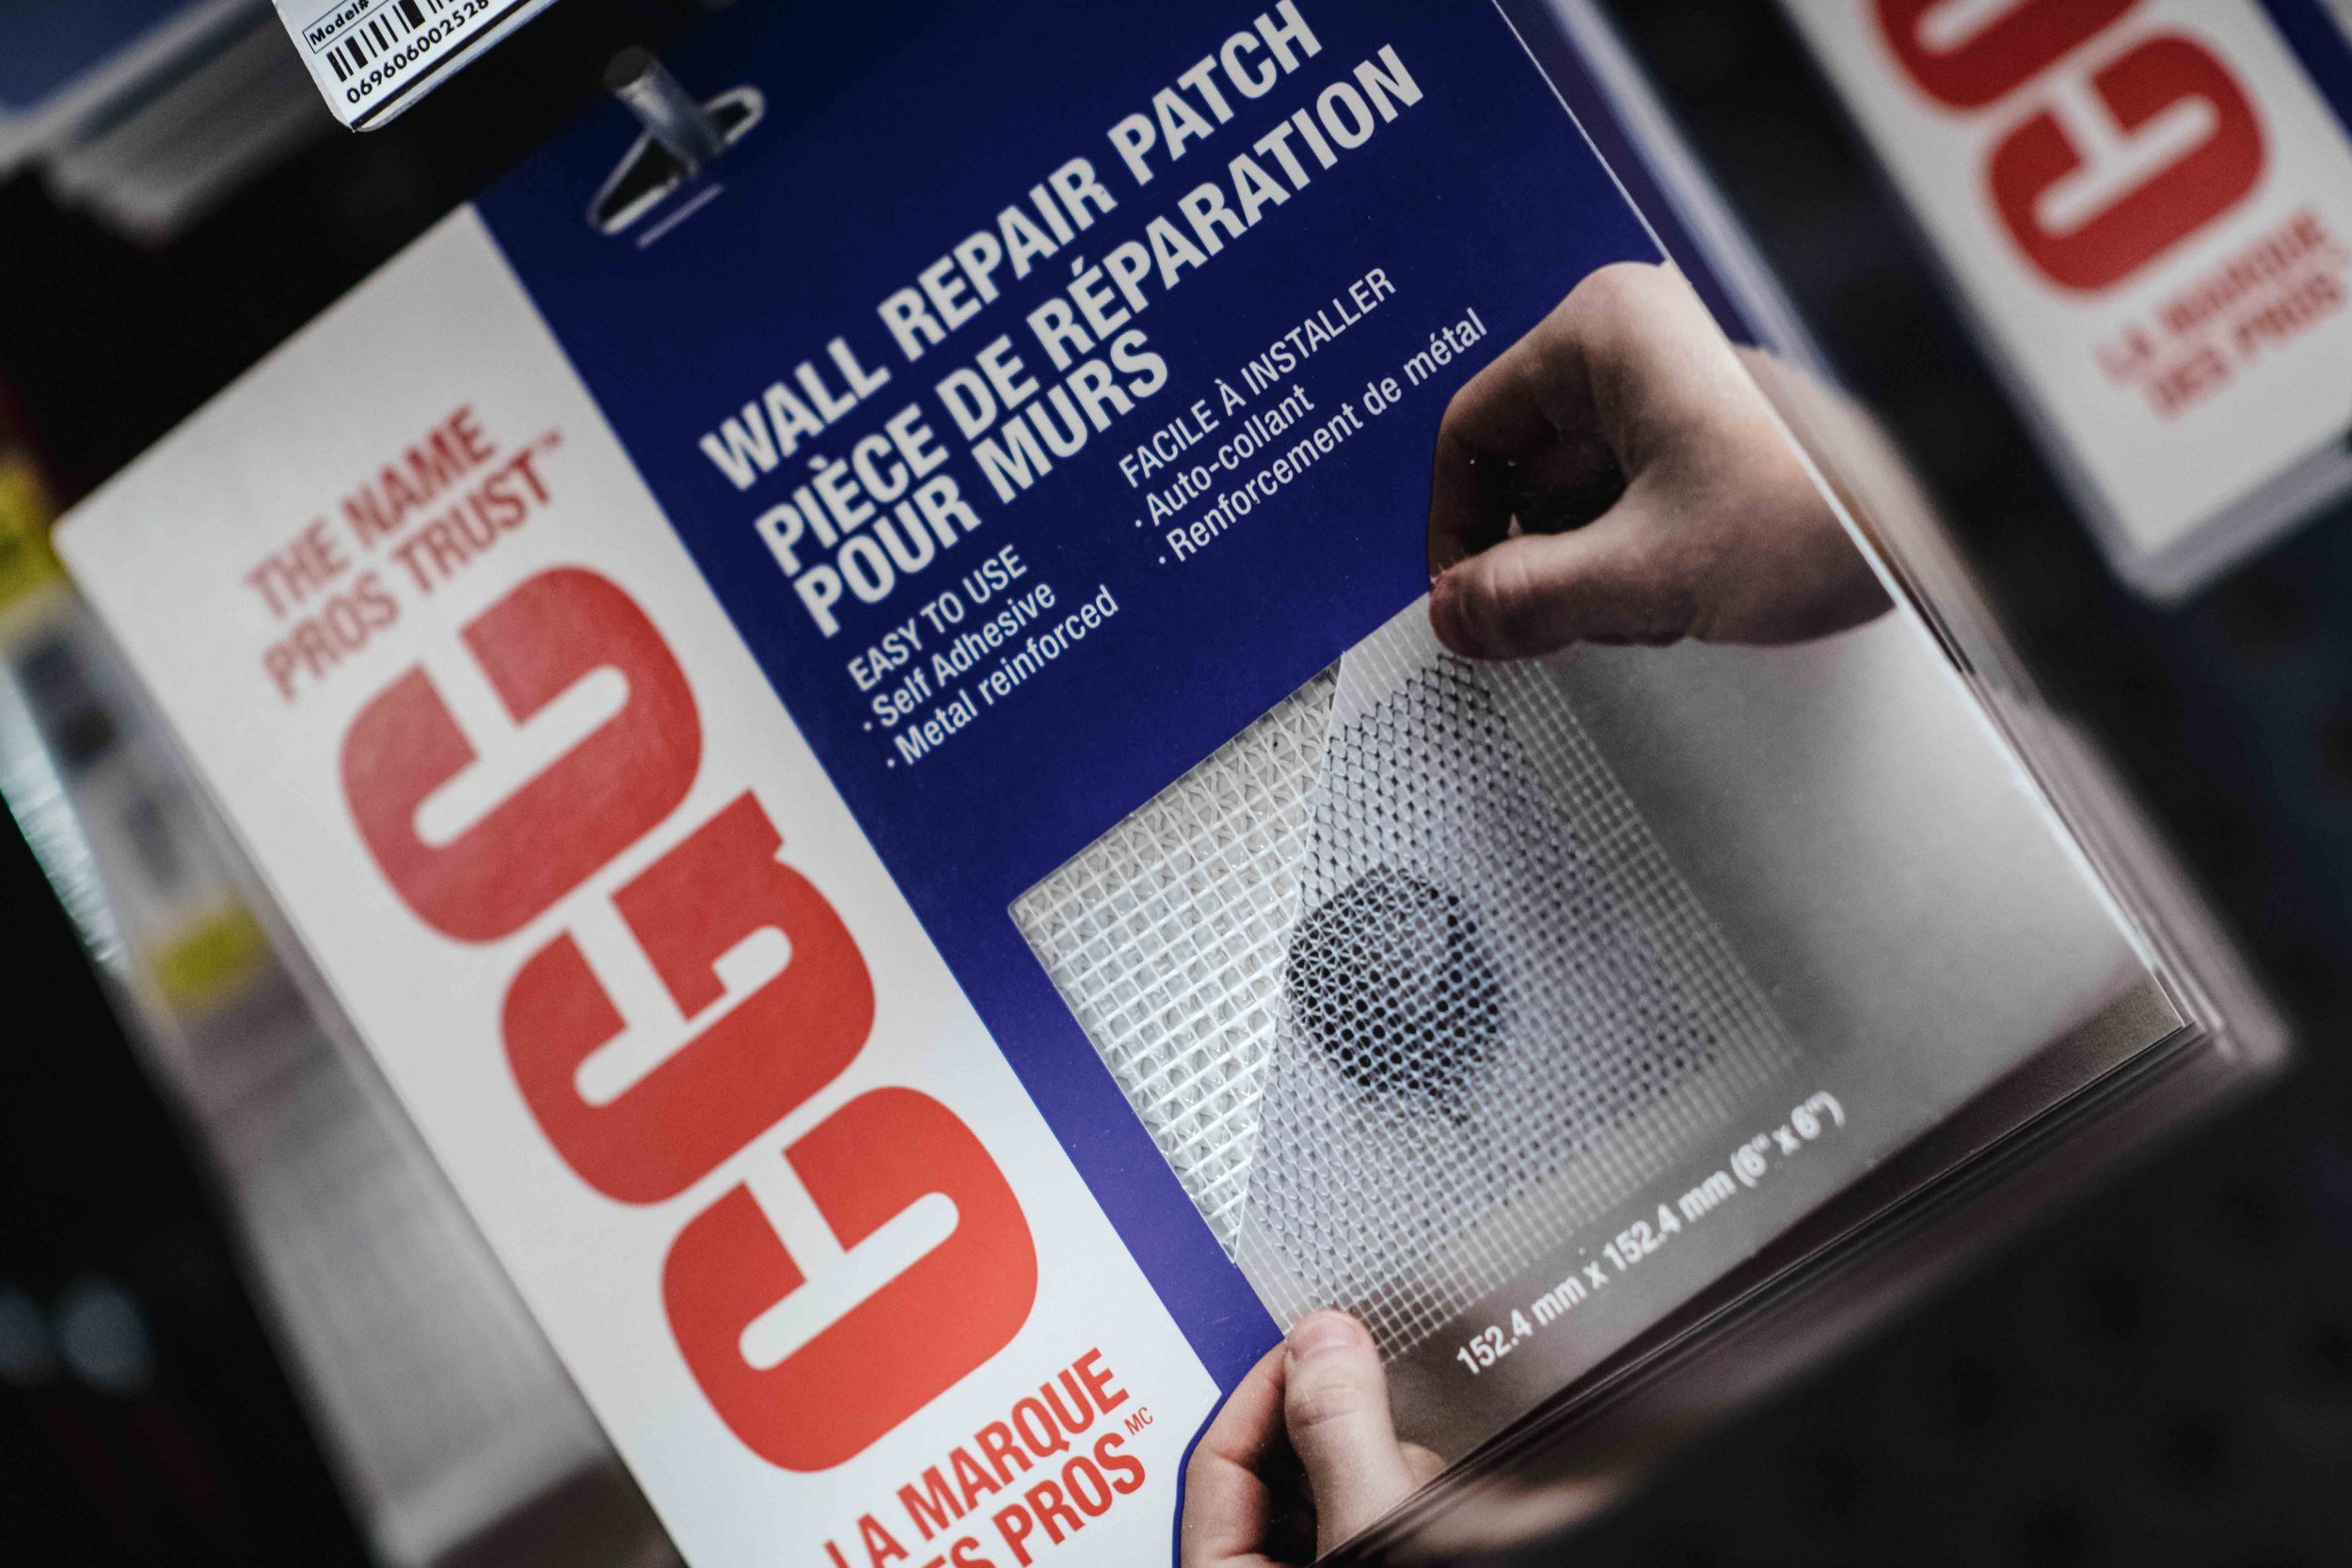
Drywall Mesh - Drywall mesh is used to cover a gap or hole to either repair of finish the drywall. Where tape may be simply to finish, mesh is often more durable, is in itself adhesive, and stronger through the curing process as it is less susceptible to the moisture of the compounds than tapes.
Drywall Hawk and Trowel - Great tools for finishing after taping, towels and hawks are usually used in combination to evenly spread compound out and effectively transition the natural drywall facing into the patched joint or patch.
Putty Knife - These are designed to distribute the putty in an even and flat manner. So help me, if I ever see one of you use these to pry open a can… :P
T-Ruler - While used often for drafting, we use them here for indicating and also for scoring the drywall.
Stud-Finder - To plan the nature of our repairs prior to actually cutting into the drywall or to reinforce in a manner more effectively, we may use a stud-finder to seek out the nearest stud.
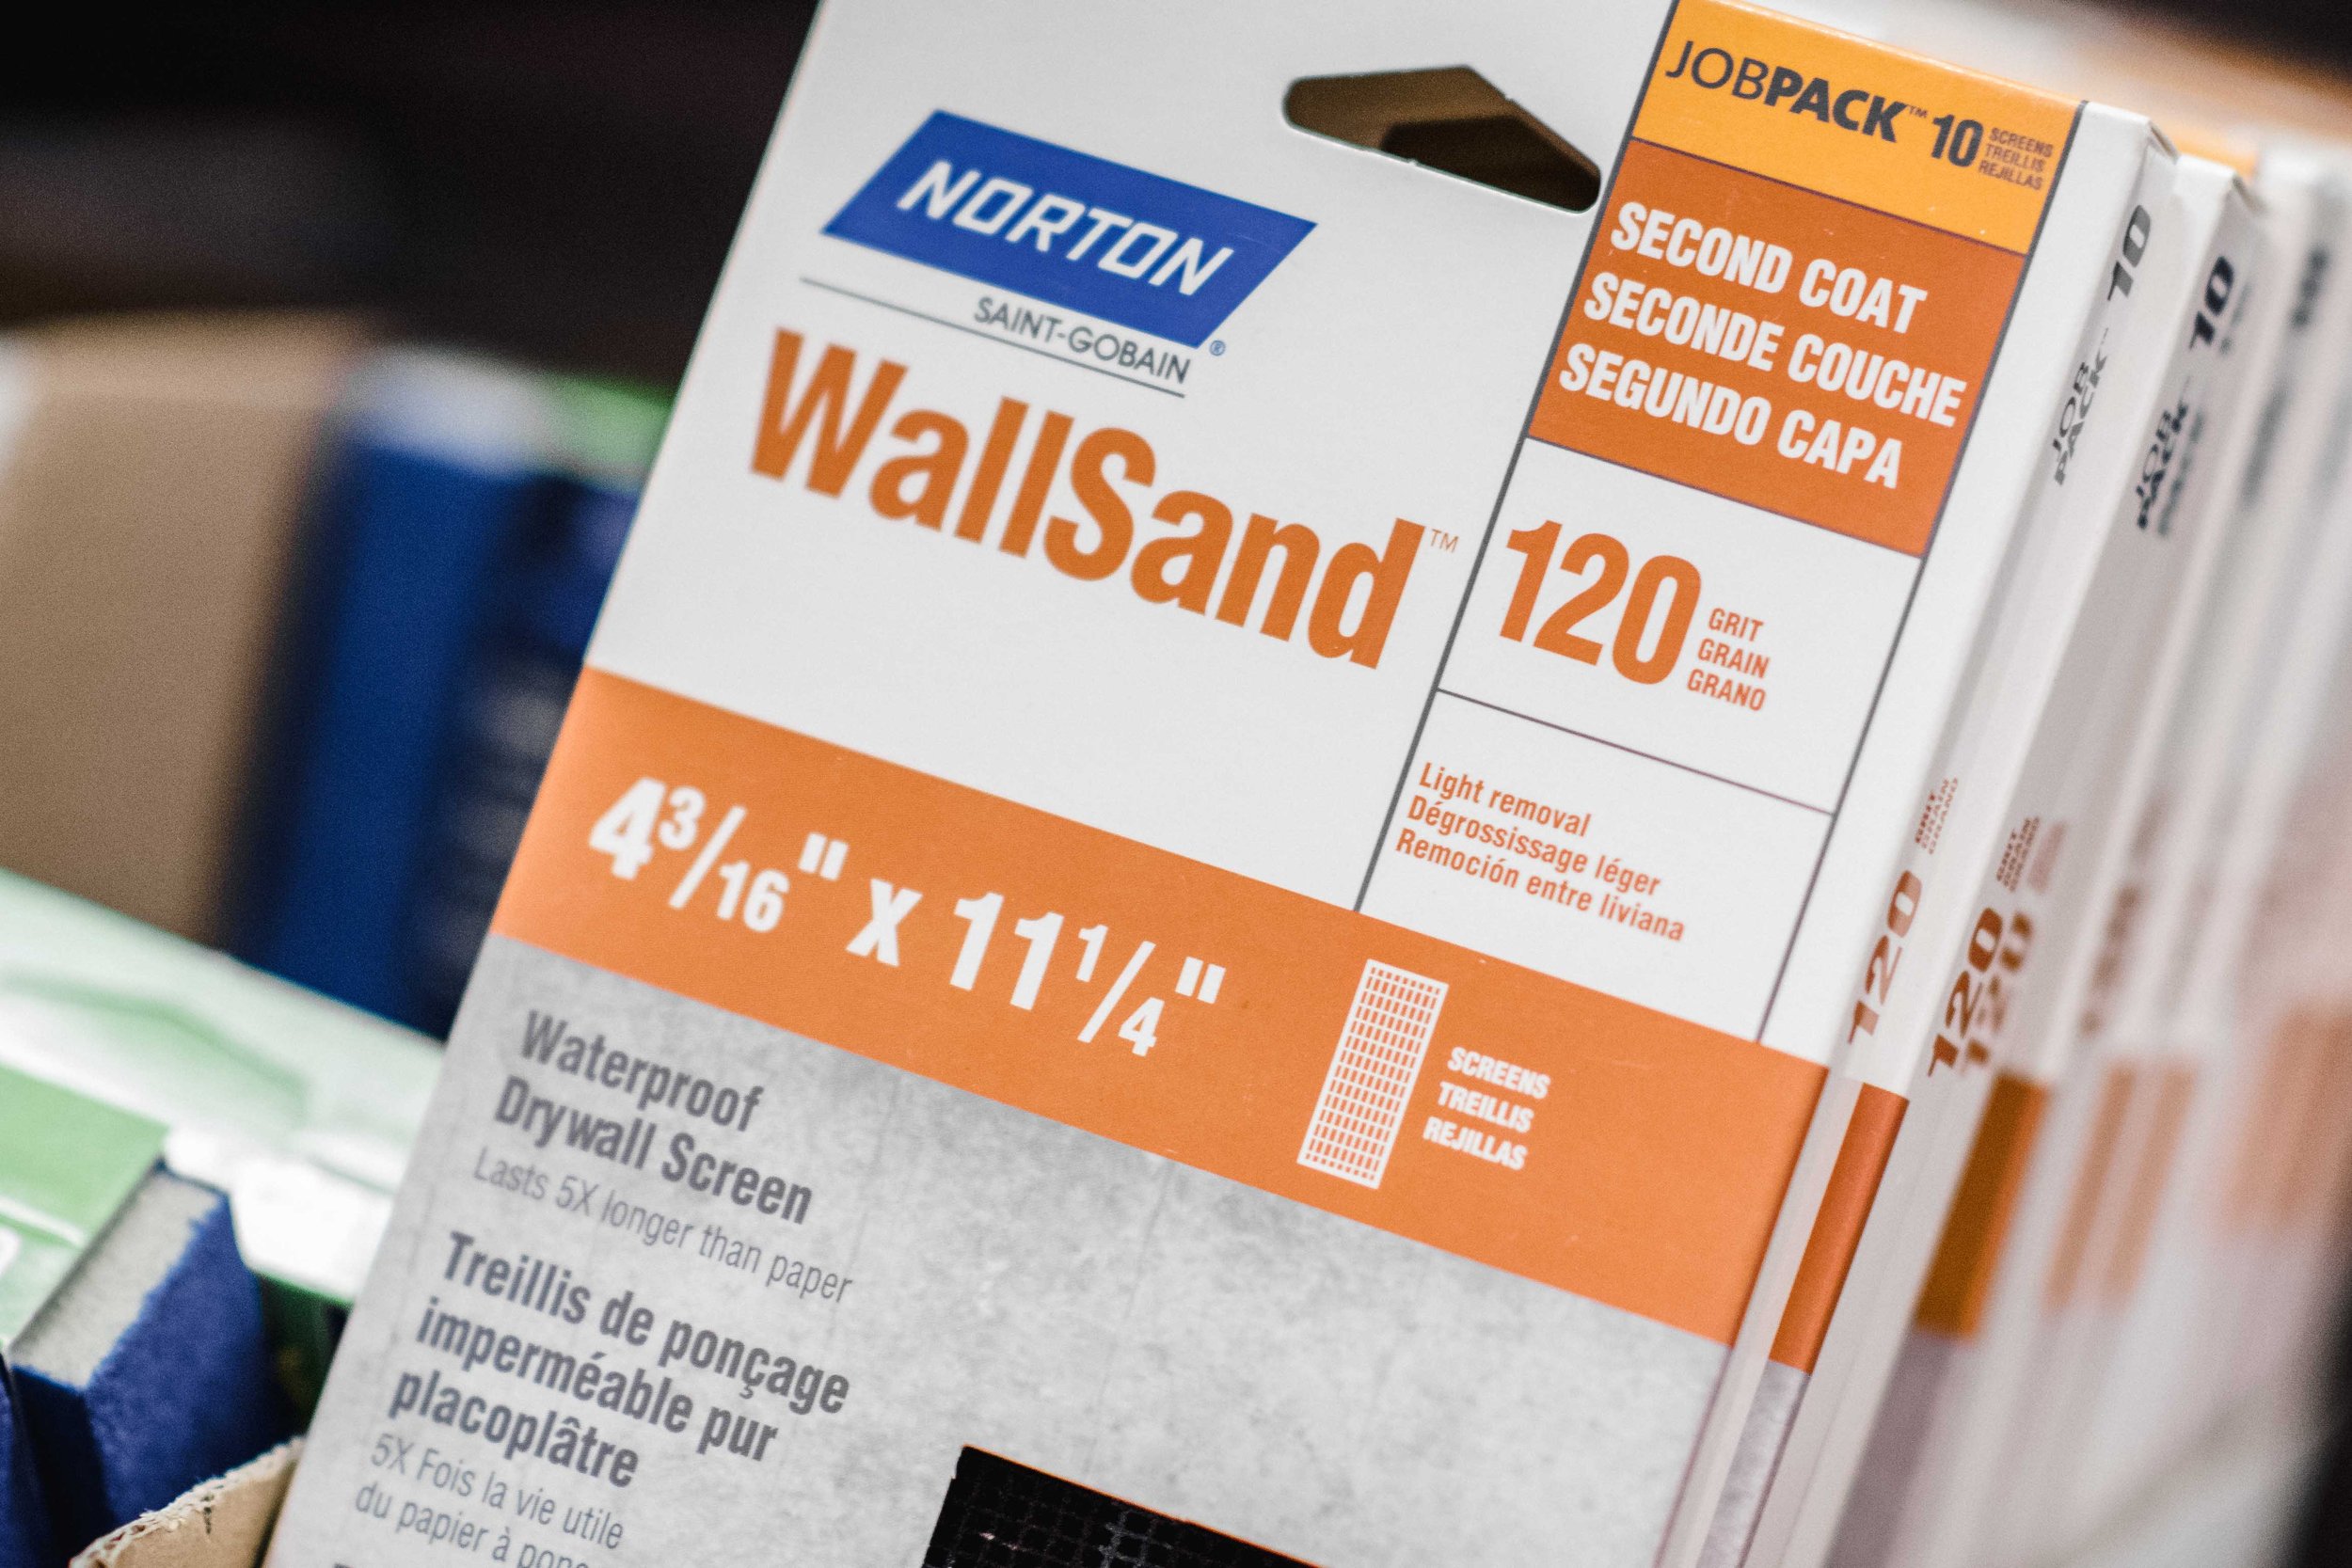
Sandpaper - Generally a grit of 120 is used to sand the compound down to an acceptable level when we are finished the work.
Tape Measure - In the process of working with our hanging or repairs - much like nearly anything we’re doing, we measure twice, cut once.
Straight Edge - Because what good would our measuring be if our lines and angles weren’t straight? I mean honestly now…
Installation and Tips
Installation is generally done by a contractor unless you’re ambitious. Be sure that if you’re doing any major additions that you’ve secured the proper permits and that you’re using all appropriate protective equipment. The process is not one you should just attempt for the first time without the assistance and direction of an experienced professional. While we will not be practicing a full wall installation in class, I have put these here for your understanding and reference. Should you want to practice something larger towards the end of the semester, kindly approach me and I’d be glad to consider rearranging the projects to accommodate it if there is enough class interest!
Repair Approaches
While we’re going to be going through a number of approaches to repairing drywall in class together, from small mud wiping, to reinforced California patches, using tape, meshes, drywall knives, utility knives, stud finders, putty knives and all sorts of things, I certainly don’t expect you to remember everything I ramble on about there. For that reason I’m putting a couple of videos into the page here to refer back to. One thing I want to stress to you here before you watch these though is this: in class we explore the need for safe blade handling and the use of proper personal protective equipment. The way they handle blades, the lack of gloves and eyewear in these videos, these are not recommended practices for how we approach drywall in our board. Please reach back out if you have questions, or refer to your course materials. As always, be safe and make good decisions!
Assignment
Your project in our class has three stages:
Stage One
The first stage of the task actually began with the previous unit, in residential framing unit as a part of our student safety passport process you were required to build an 18” square frame out of 2x4’s; with that frame we will now cut a piece of drywall to fit and screw it to the frame. Be aware of the edges of the drywall relative to the frame and ensure that they are neither too short, nor too long; that the screws are not too close to the edge of the cut piece, and that they neither stick out of the drywall, nor go too deep, also be sure that they have not gone too far towards the edge of the square and caused the drywall damage (you’ll see chunks of it crack and break away).
Stage Two
Once your teacher has inspected and graded your work for your attention to detail, he will punch a large, a medium, and a series of small and irregular holes into your project. You will be expected to inspect the holes and determine the nature of patches required to repair the drywall - Hint at least one of them will require a structural reinforcement.
Stage Three
You are to repair all of the holes and finish the repair so that the outer surface of the drywall is at a state where it is flush, smooth, and ready to be primed for painting. Your teacher will grade your repair as per the rubric.