


Drill Press
Subject: Construction, Exploring Technology
Objective: Students will understand the foundational theory and applied concepts surrounding the safe use of the drill press. These standards are to be cross-referenced with the OCTE Standards linked here, and confirmed with the documentation which is printed in the administration kept in the classroom itself. No student should operate any equipment without adhering to the standard operating procedures, shop safety rules, and all work, setup, maintenance, and other such shop activities must be done with the express foreknowledge and approval of the appropriate respective workshop teacher under supervision and during shop hours.
FOR OFFICIAL STANDARDS OF REFERENCE PLEASE LOOK TO THIS LINK BEFORE CONTINUING
Nothing here is intended to take precedence over the directions set out in the manufacturer’s instructions, nor those safety set out by any ministry of education, ministry of labour, educational board, or legislative body. This is purely an amalgamation of resources to support education, but is not intended to be a definitive source for safety or procedure. For your own safety, refer to your respective legislation and overarching bodies regulating standards to ensure that you are following procedures which reflect the most recent and supported bodies of research.
Intro

Relative to the other tools in our shop, the drill press generally rates among the lowest risk machines you can operate - provided you follow the directions, use caution, and wear the appropriate personal protective equipment. However, complacency with a tool can lead you to dangerous consequences, so please do not operate this (or any) tool with any disregard to safety. Tools still require their operators to use them in the manner they were intended, and with the appropriate supervision, so be sure to use caution and respect the instruction given at all times. If you’re ever uncertain on how to use this (or any) tool, safely stop what you’re doing and notify the instructor immediately.
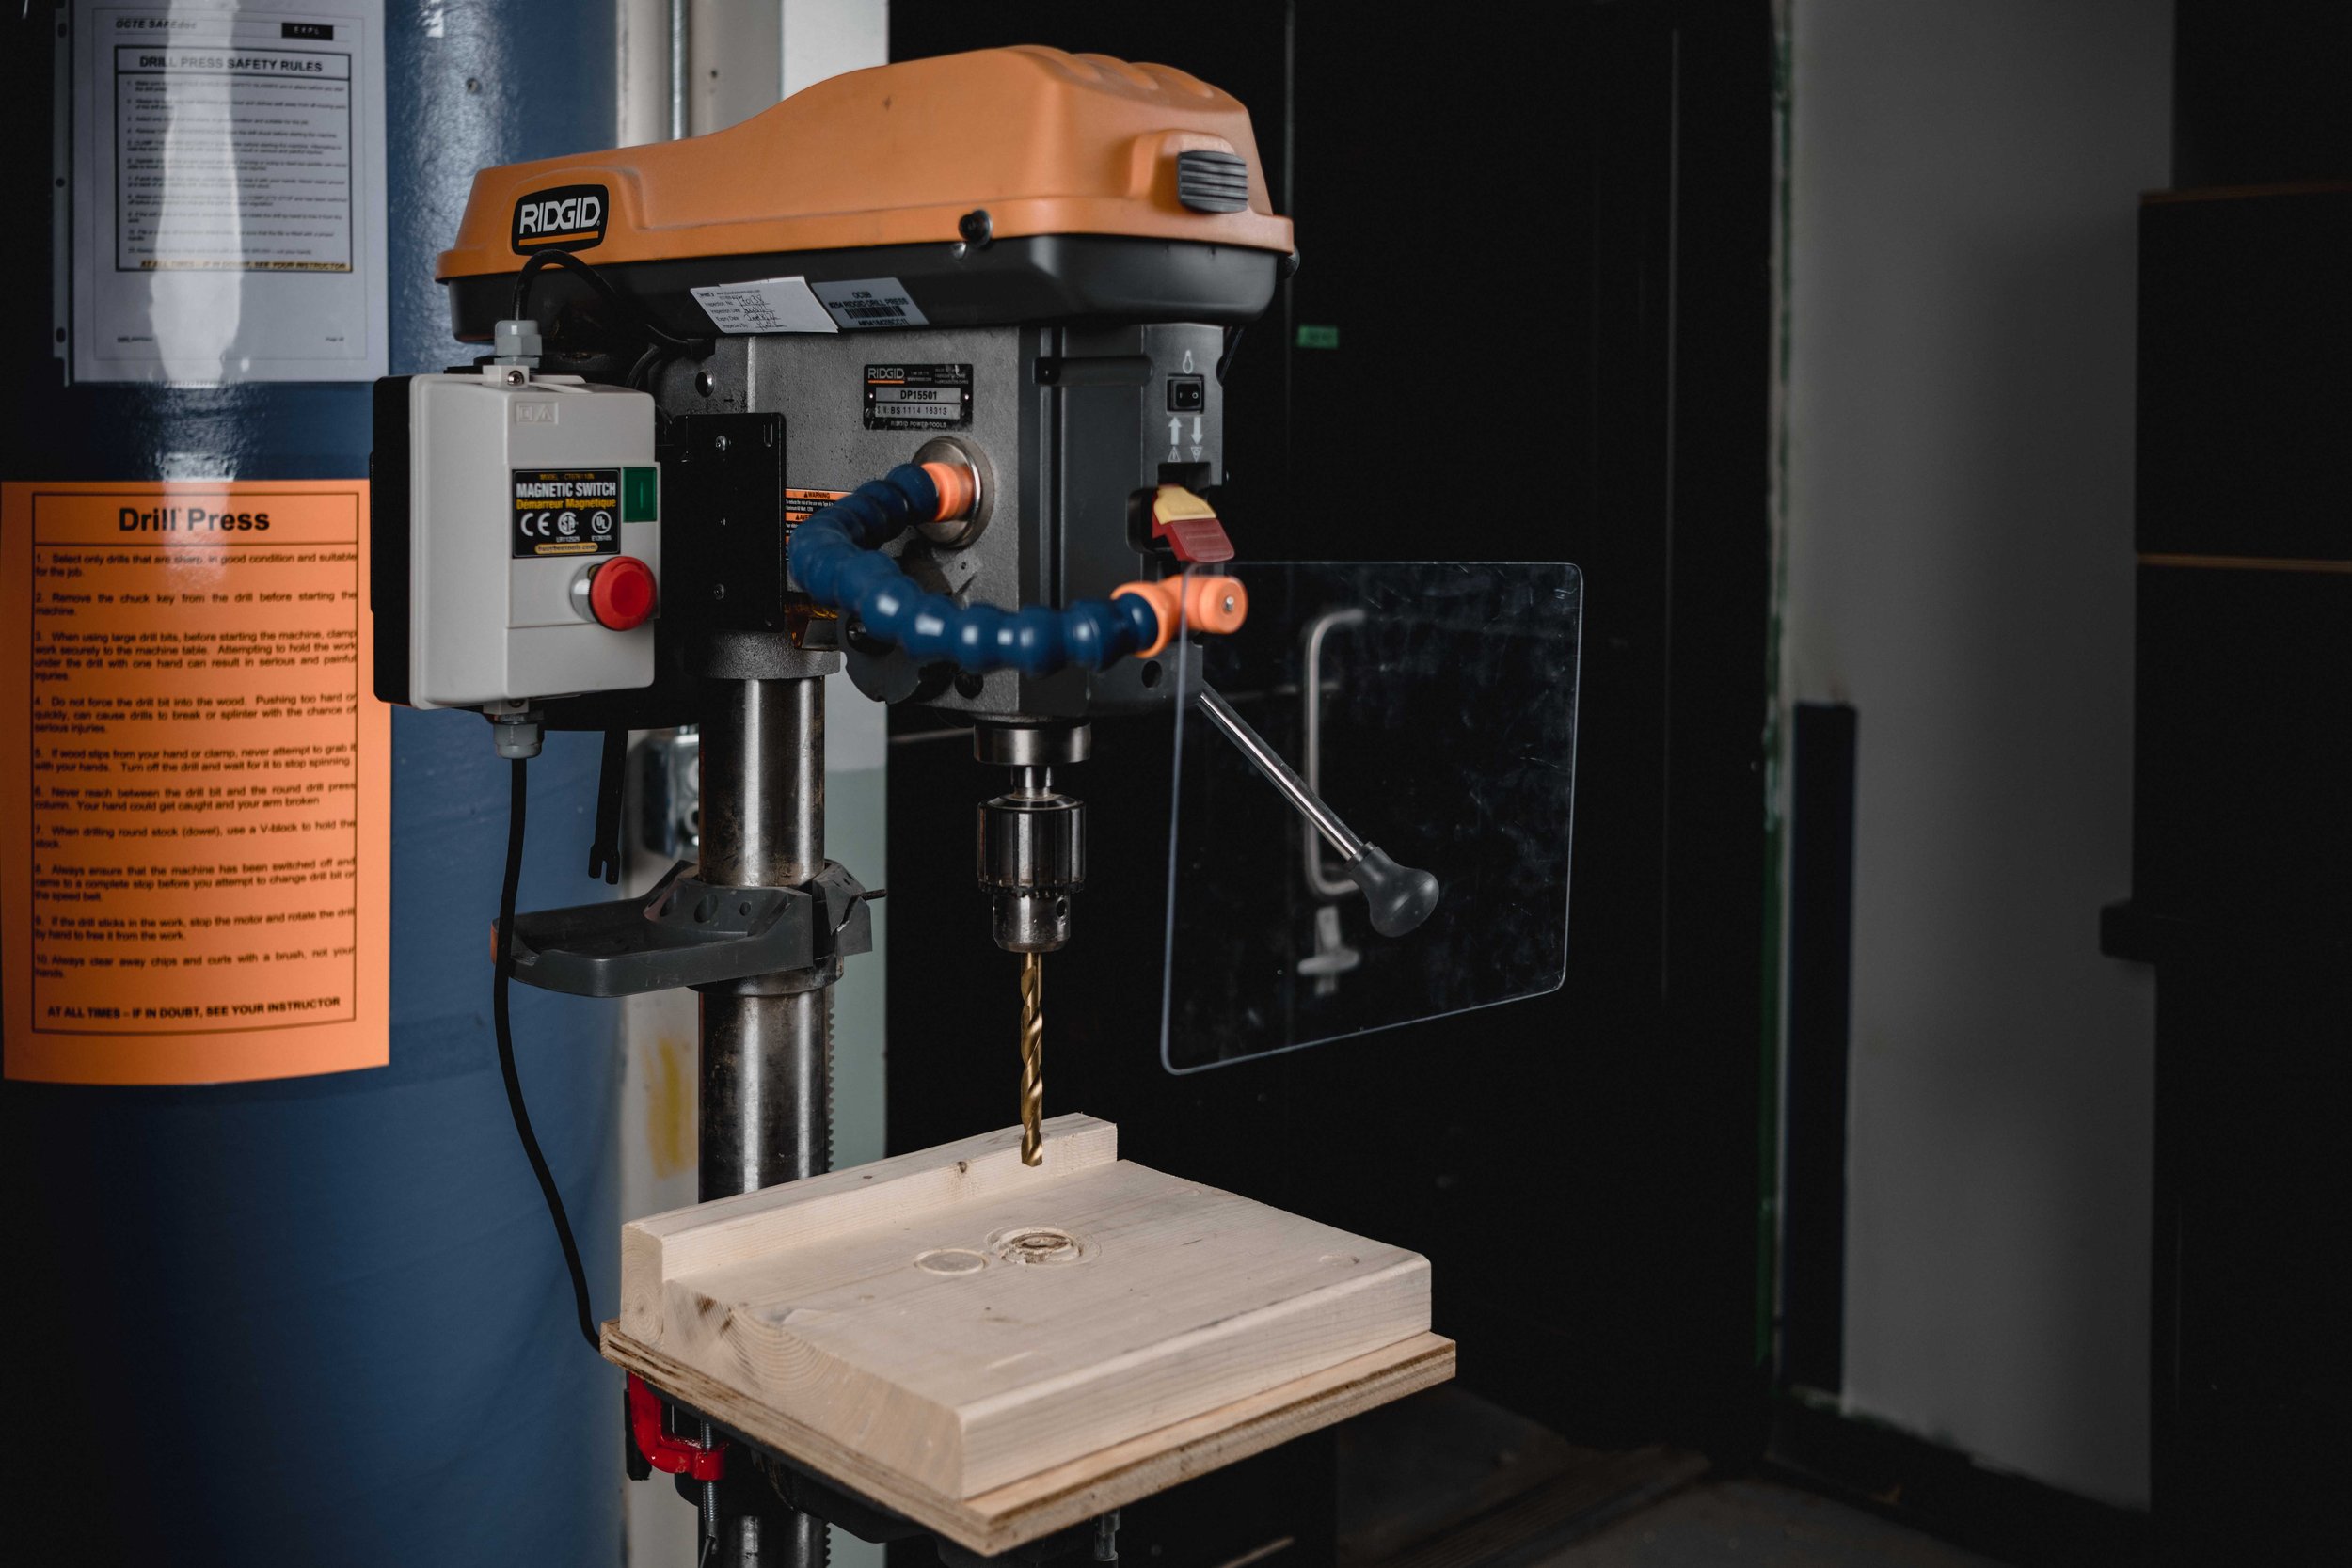
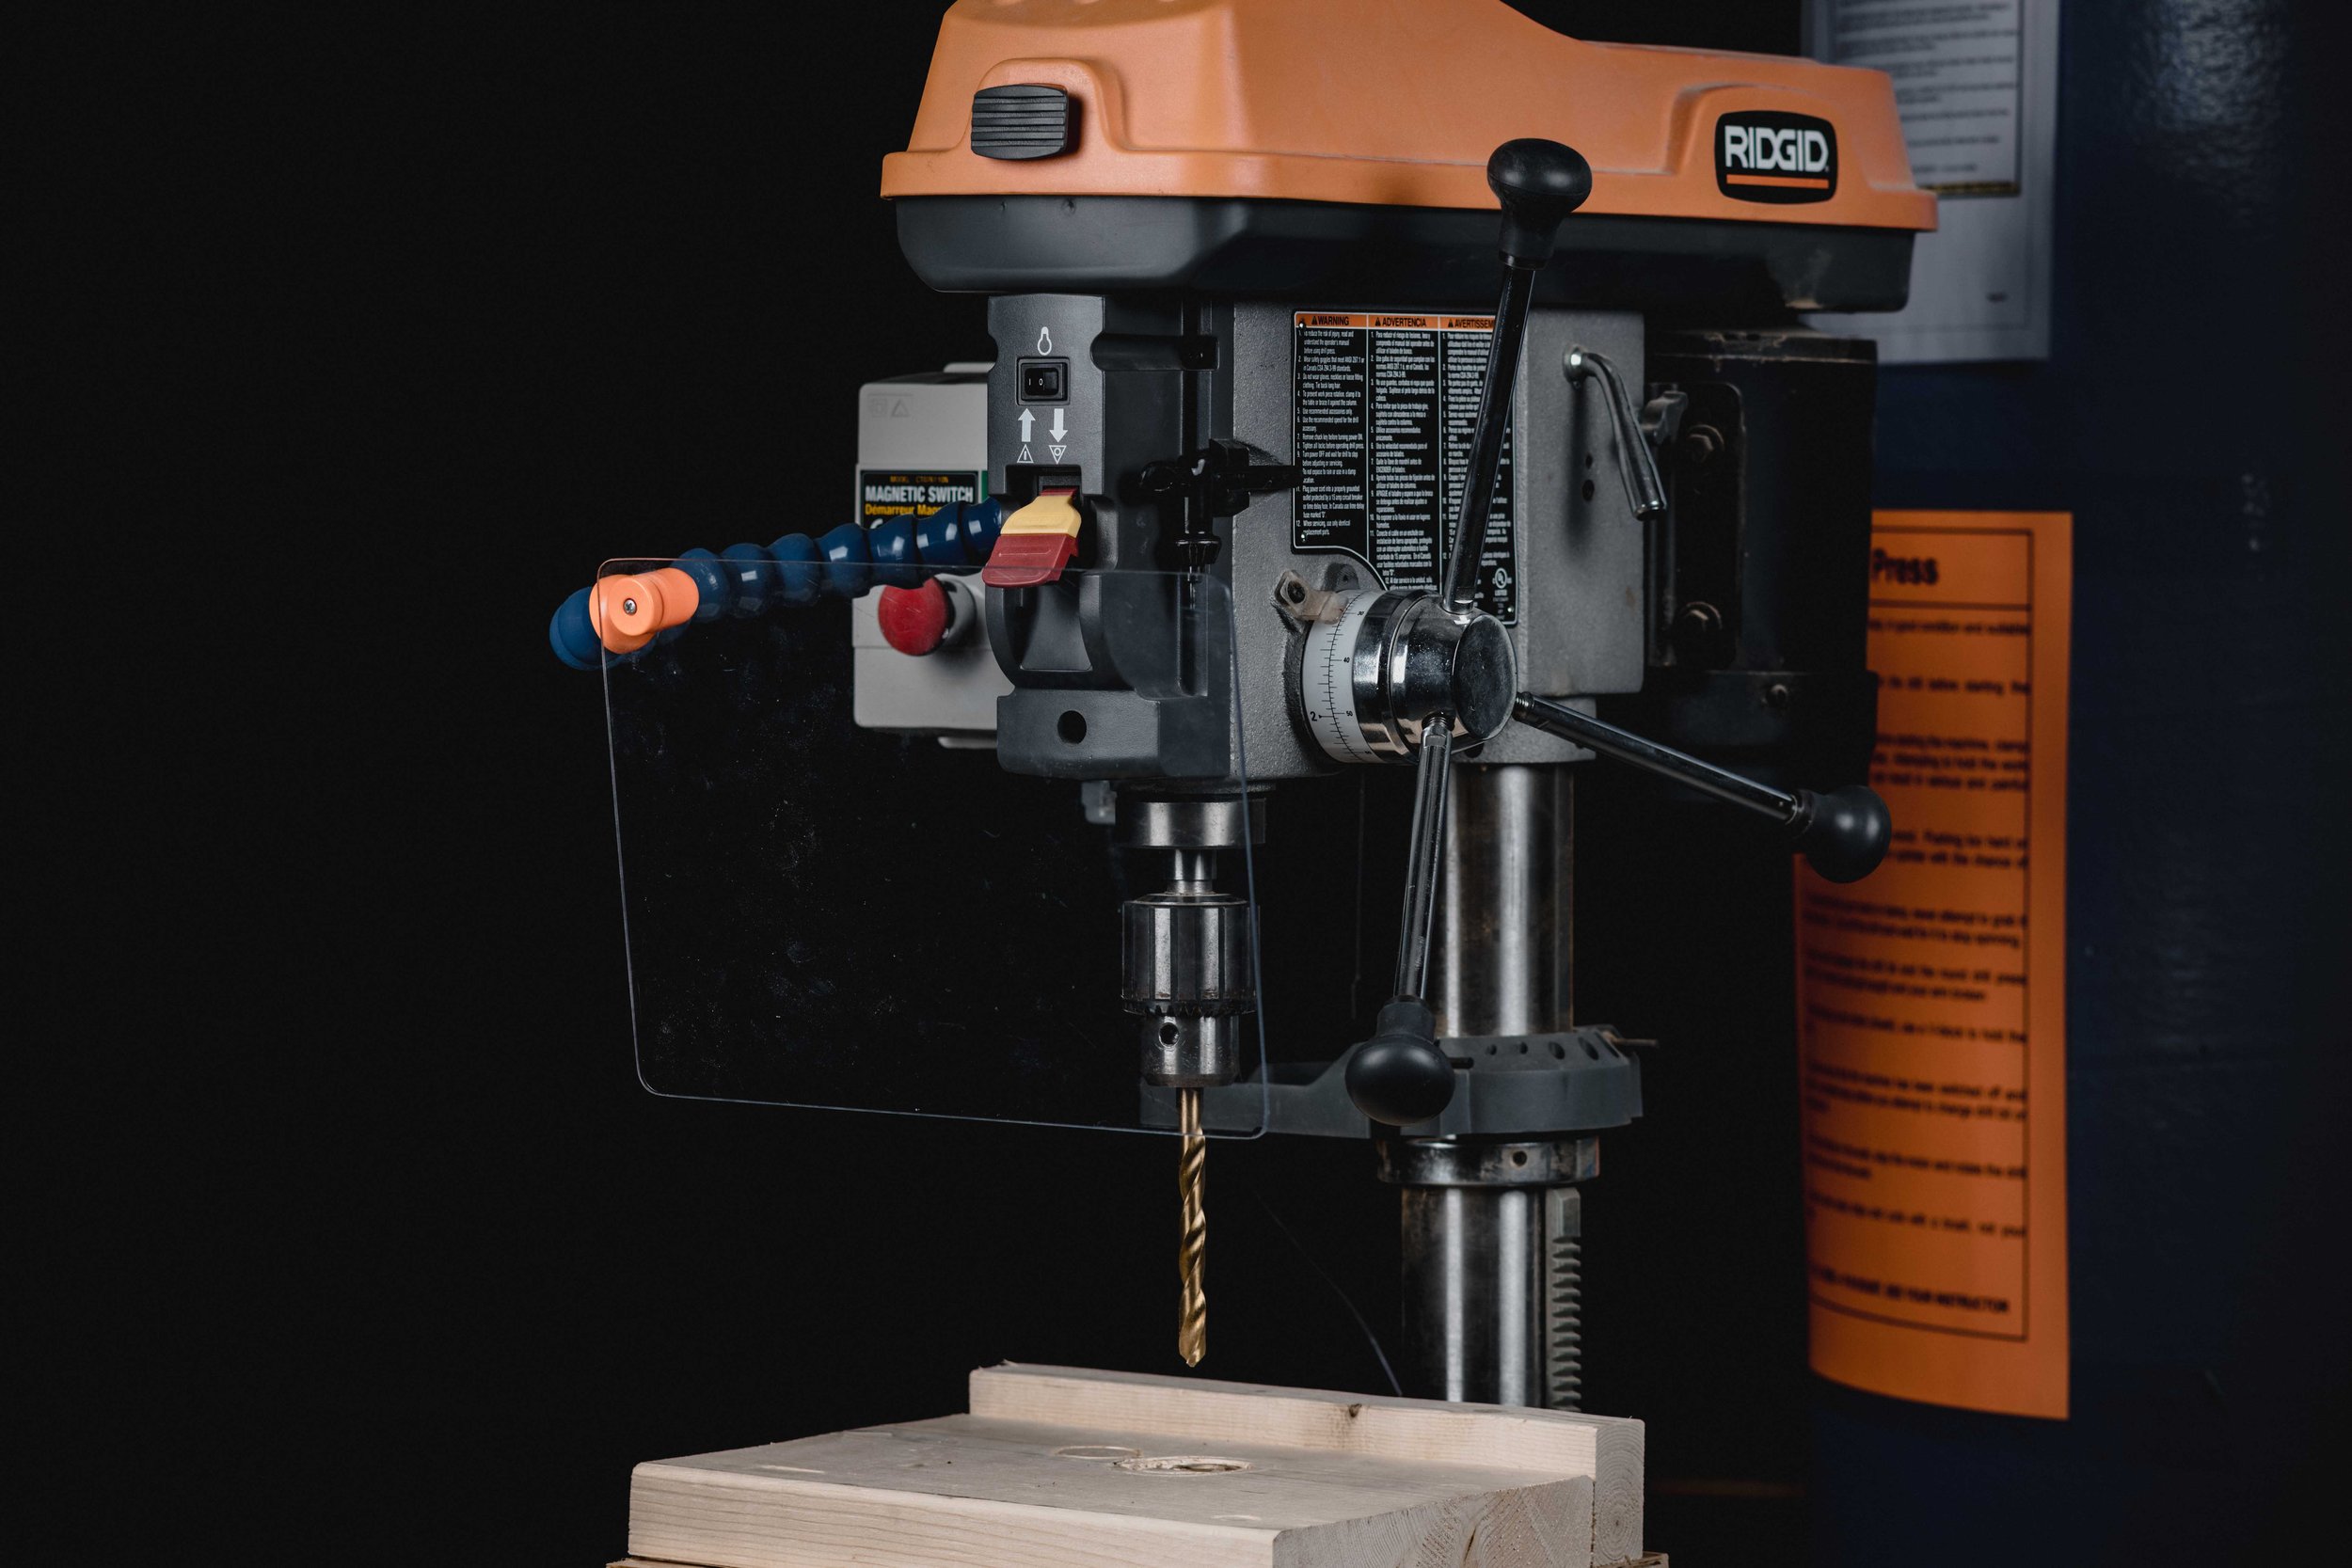
By this point in the course you will have already demonstrated a functionally-applied understanding of how a cordless drill should safely be operated (this was done in the cordless power tools section of your student safety passport). From a conceptual level, the drill press has much the same design and function. Essentially it uses a motor to rotate an interchangeable bit at differing speeds through the use of a chuck which grips the bit with three jaws. Though there are overlaps in the theory, it should be noted that the two tools have very different purposes and even details like adjusting the chuck are very much different.
Student Safety Passport Tool Components List
For your understanding (and for your safety passport test) the main components you will be introduced to during your instruction are as follows:
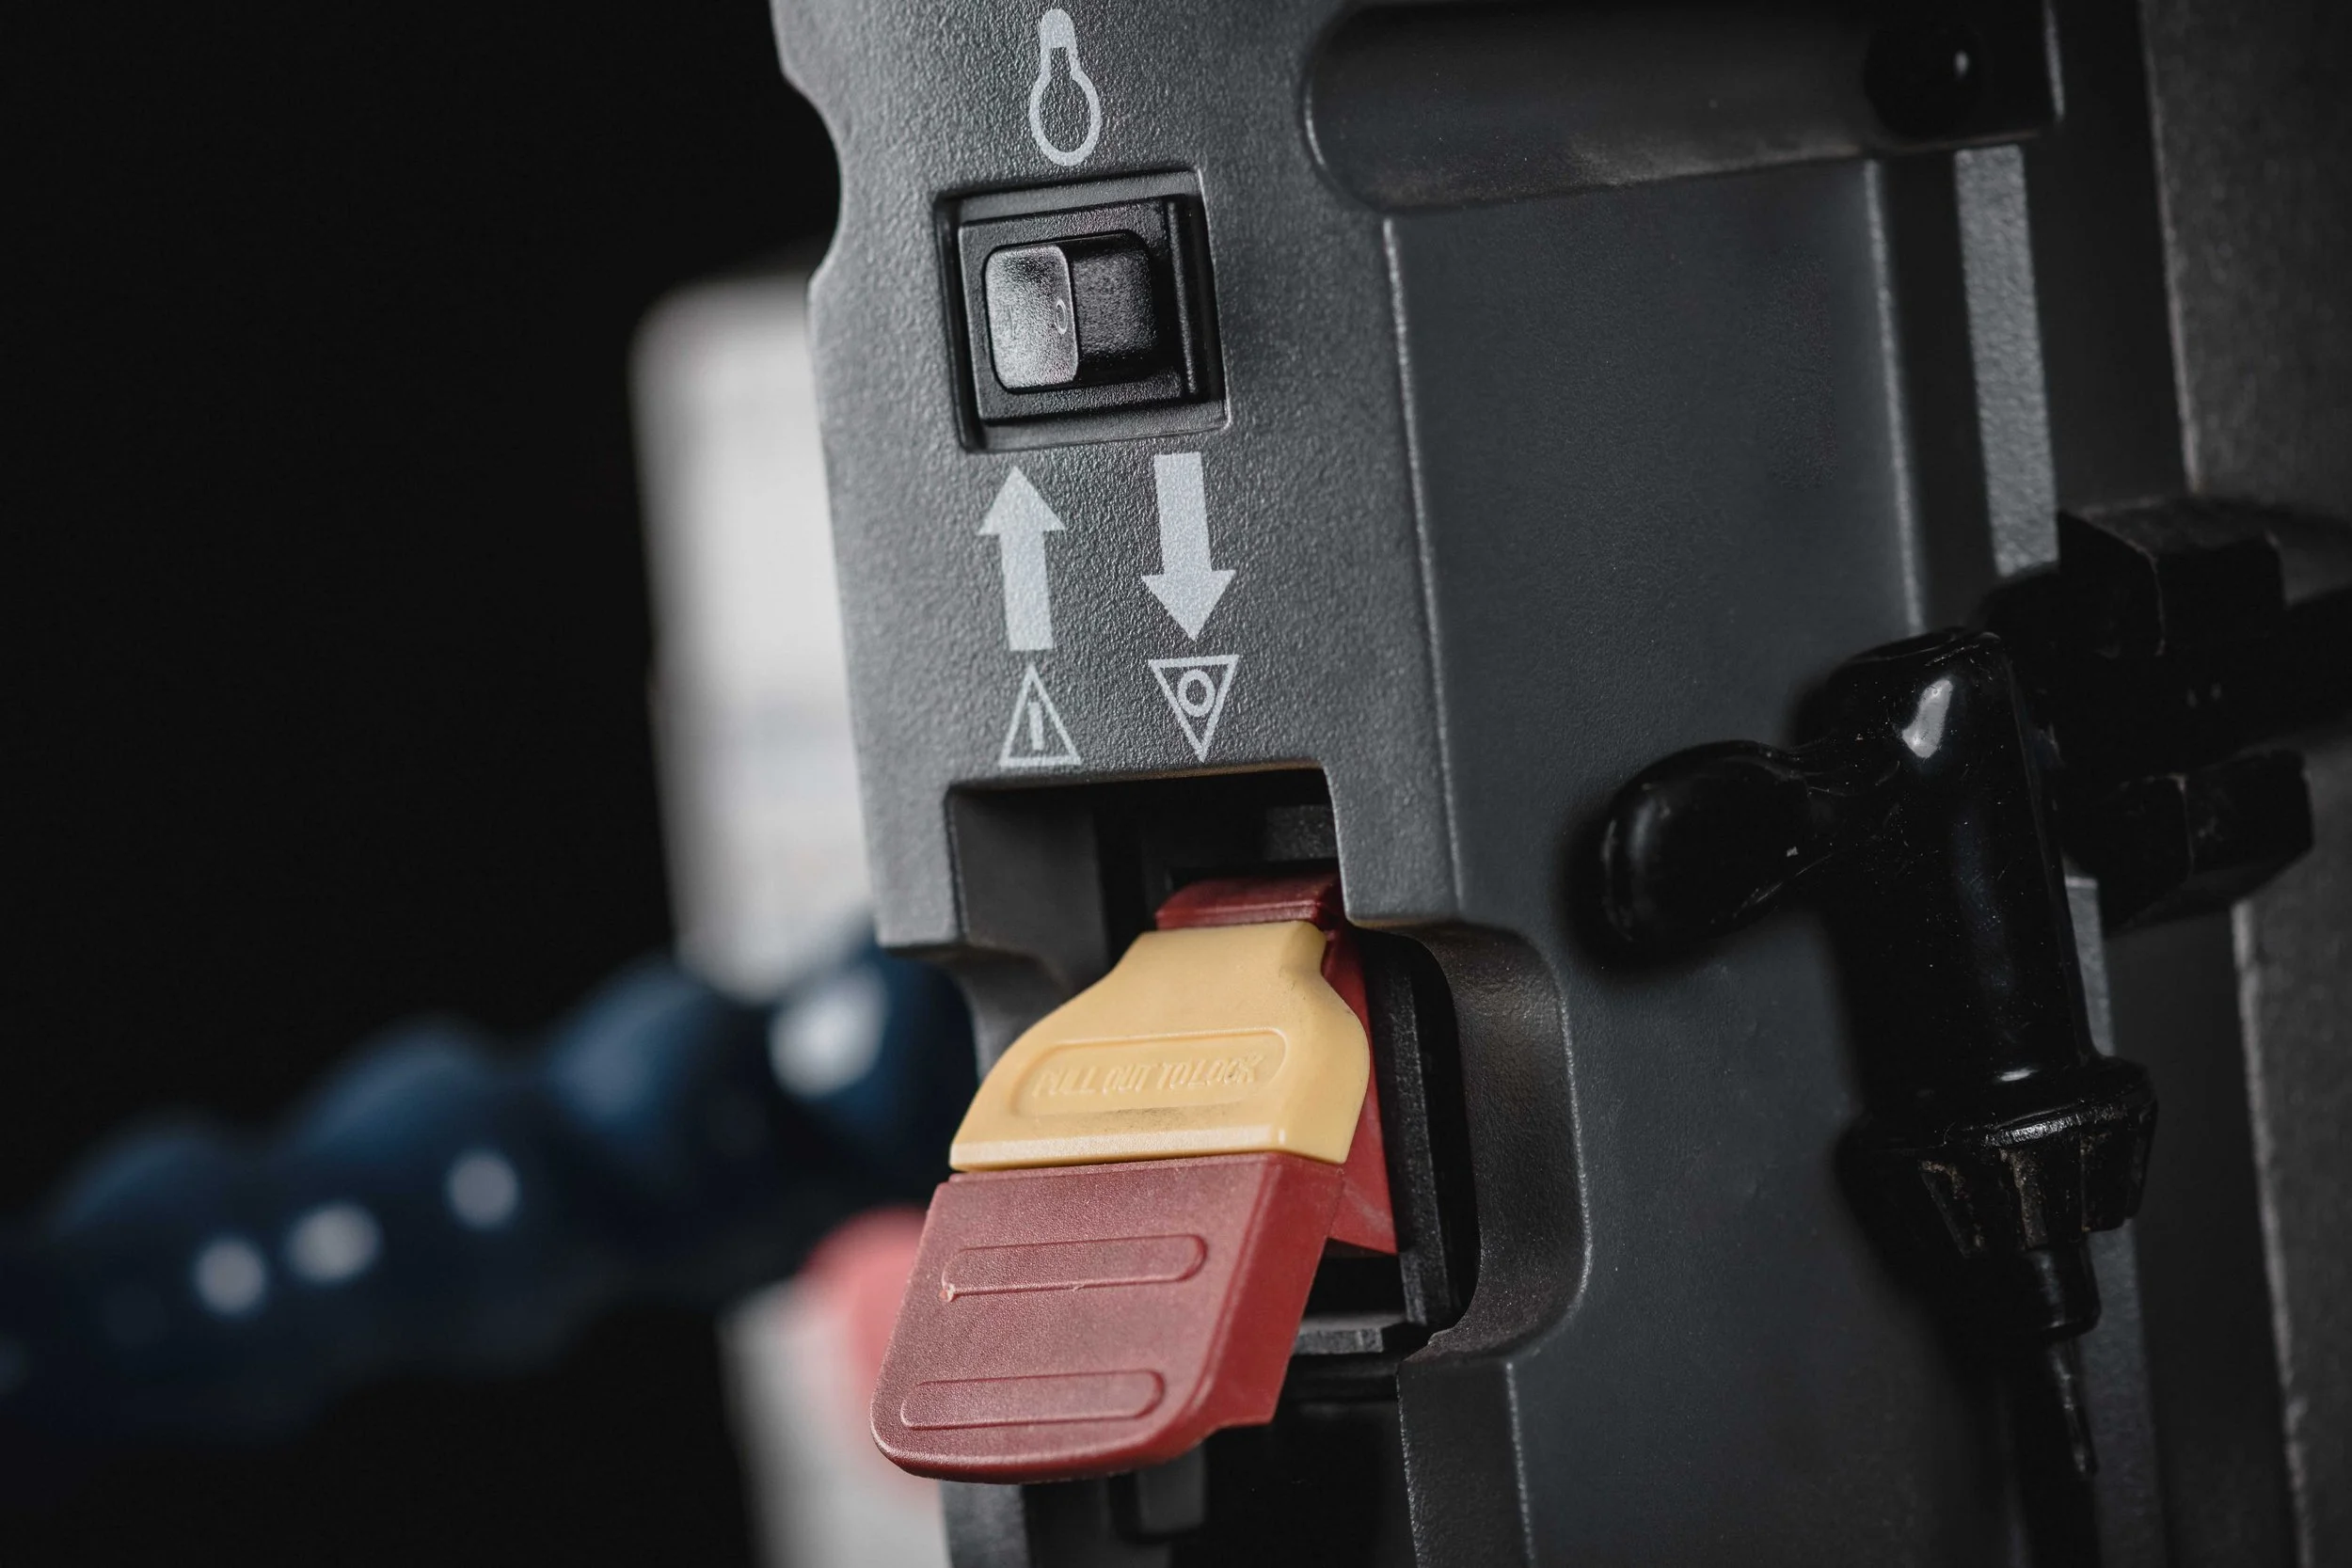
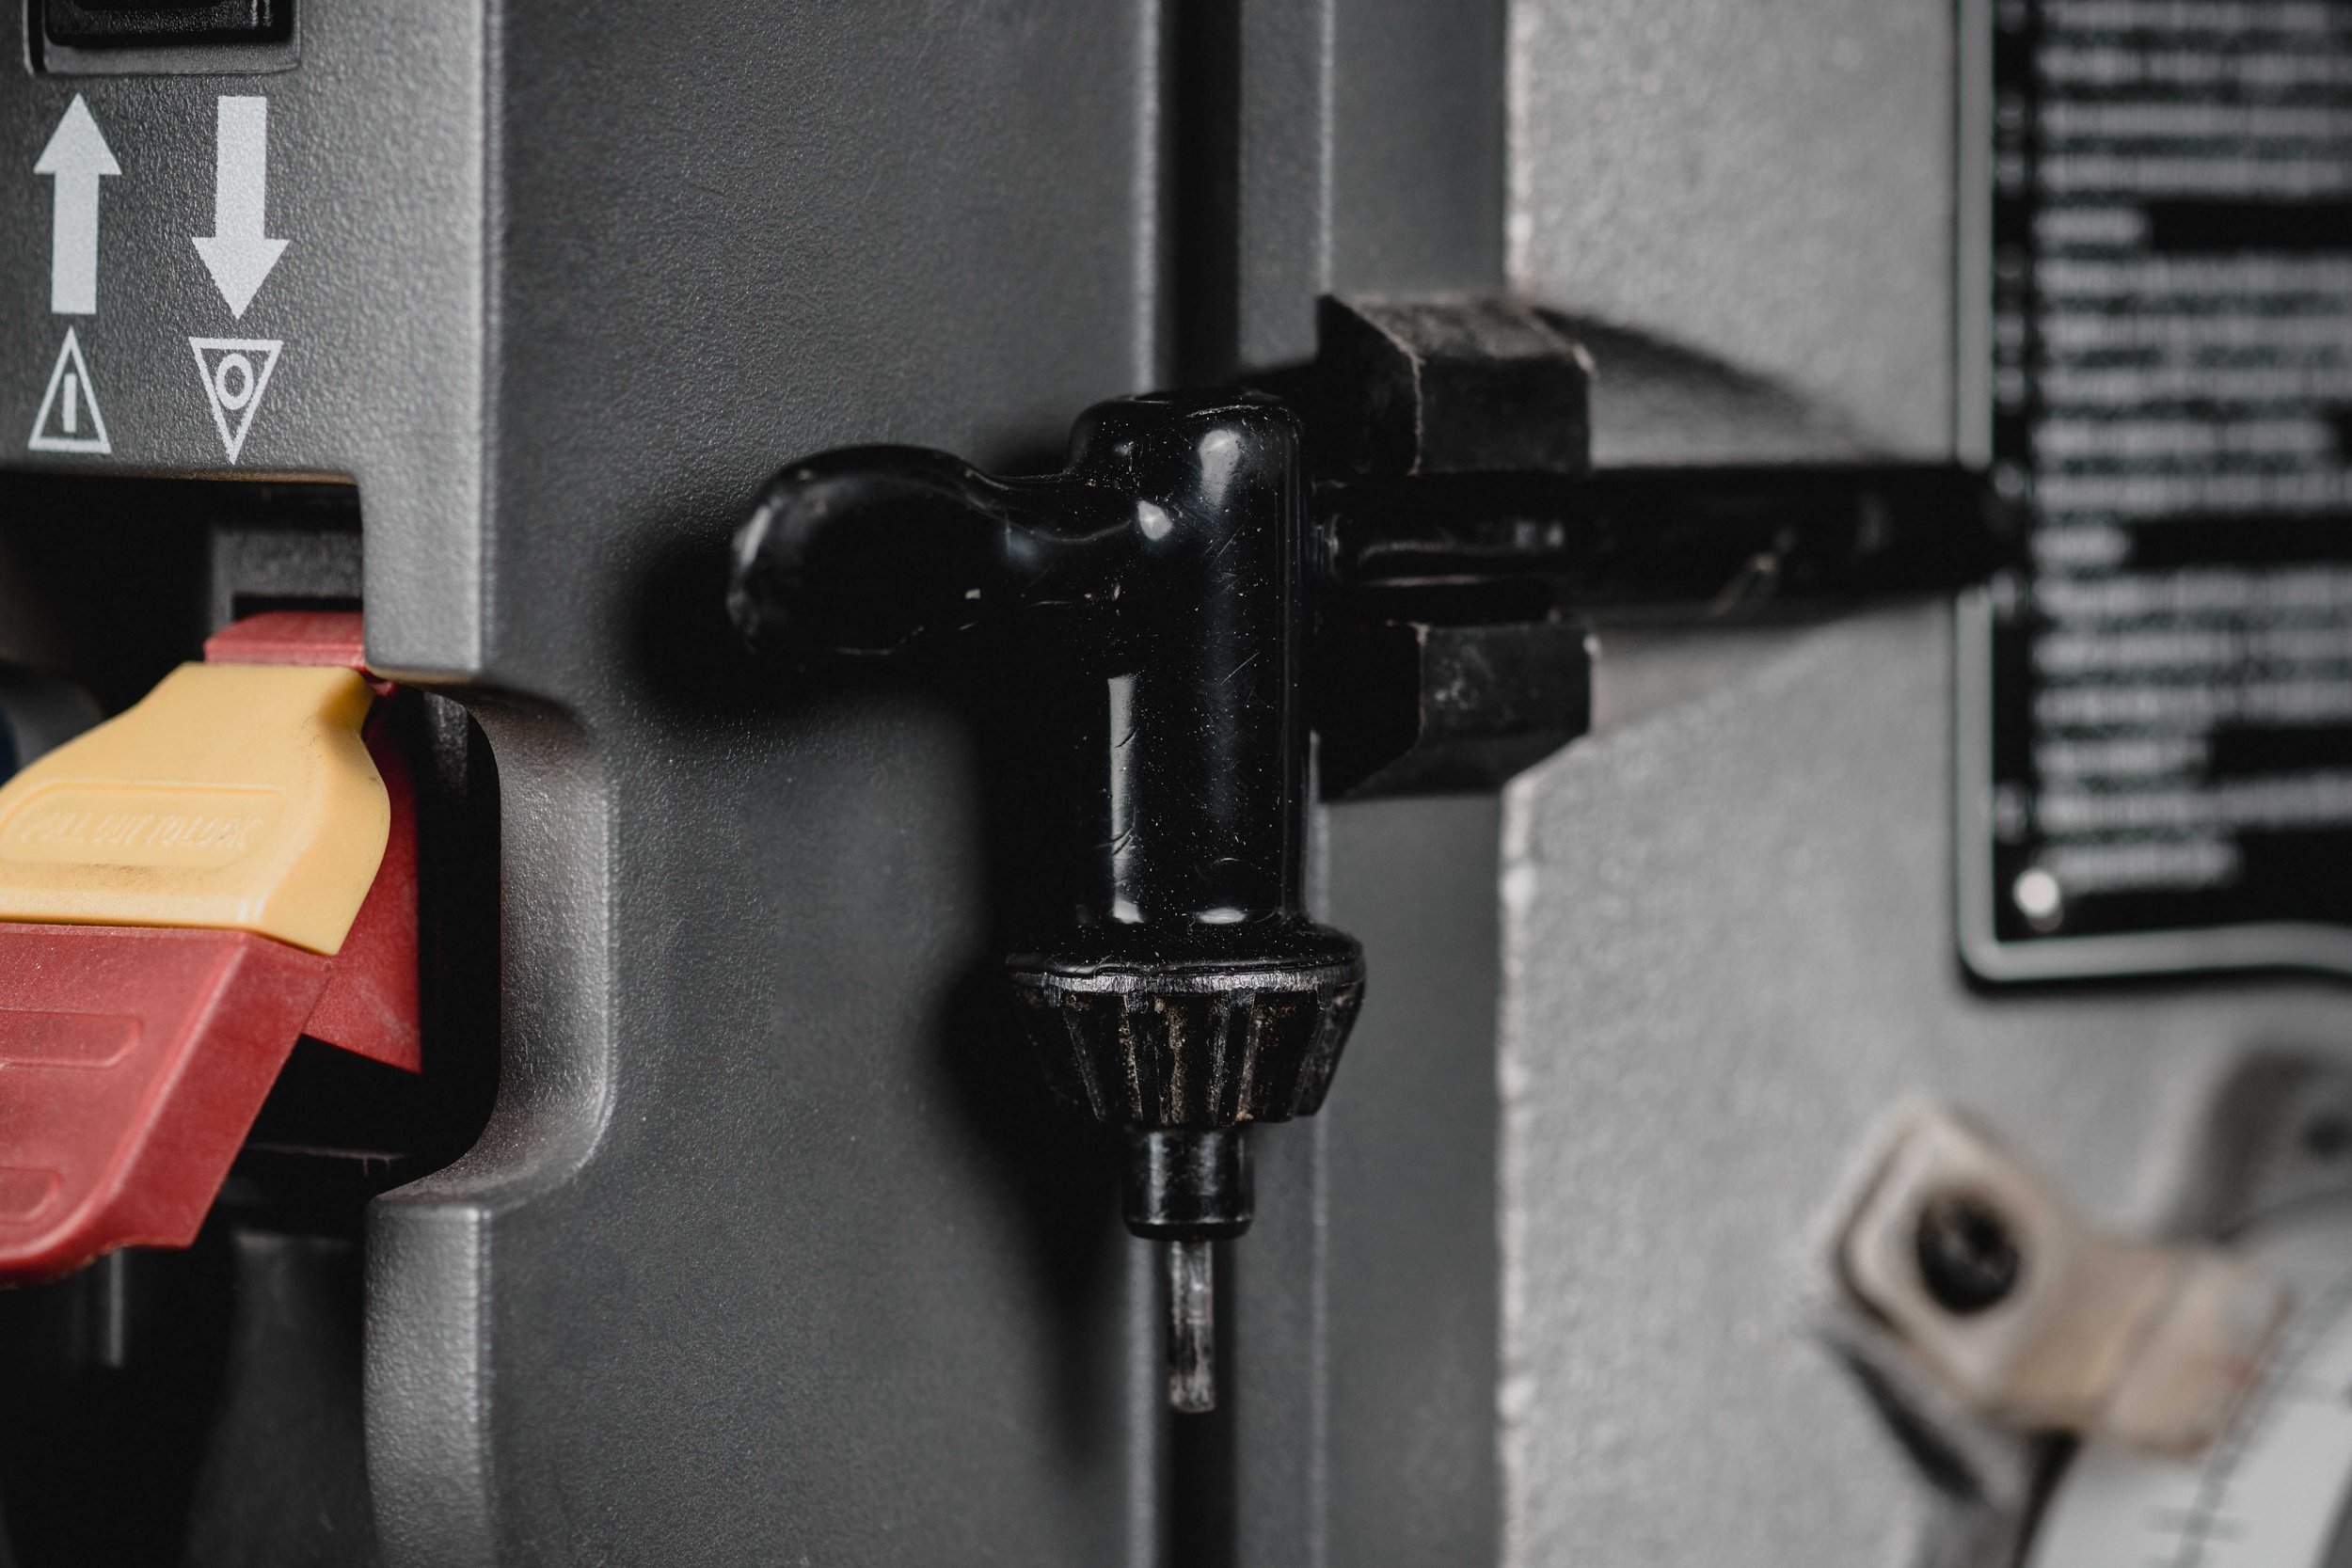
Motor starter and shut-off (ON/OFF)
Pulley Guard
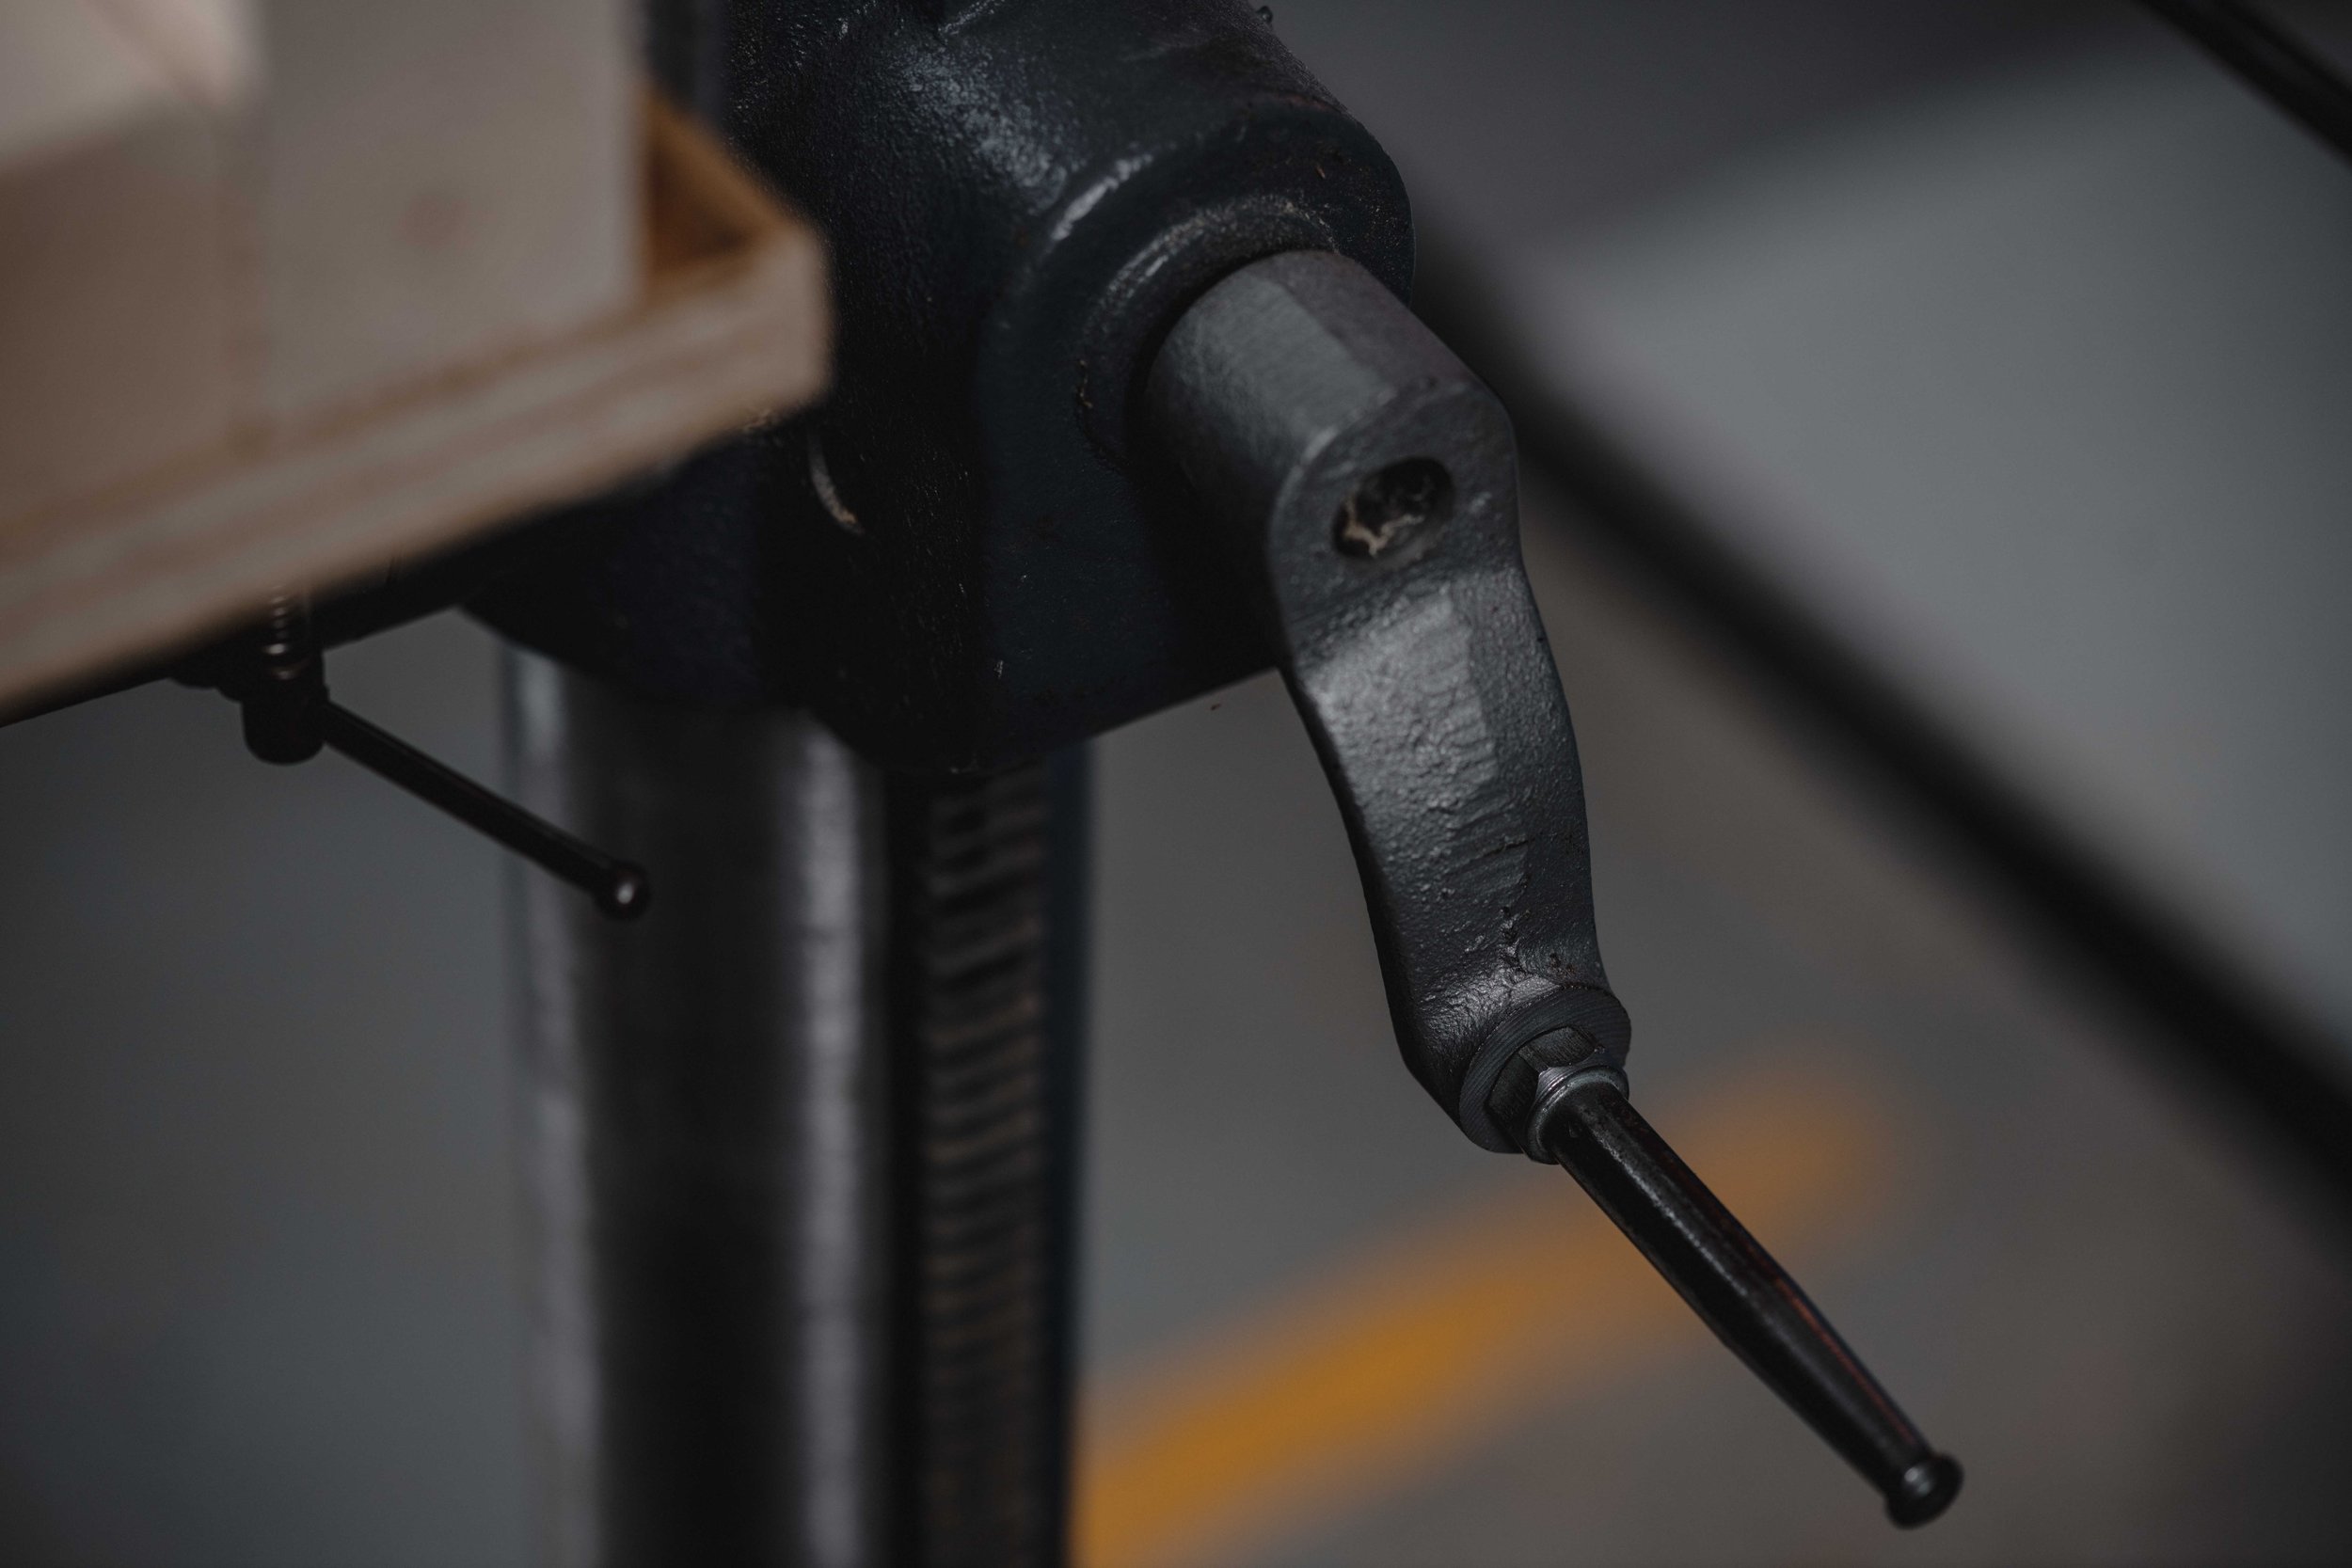
Feed Handles and Depth Stop
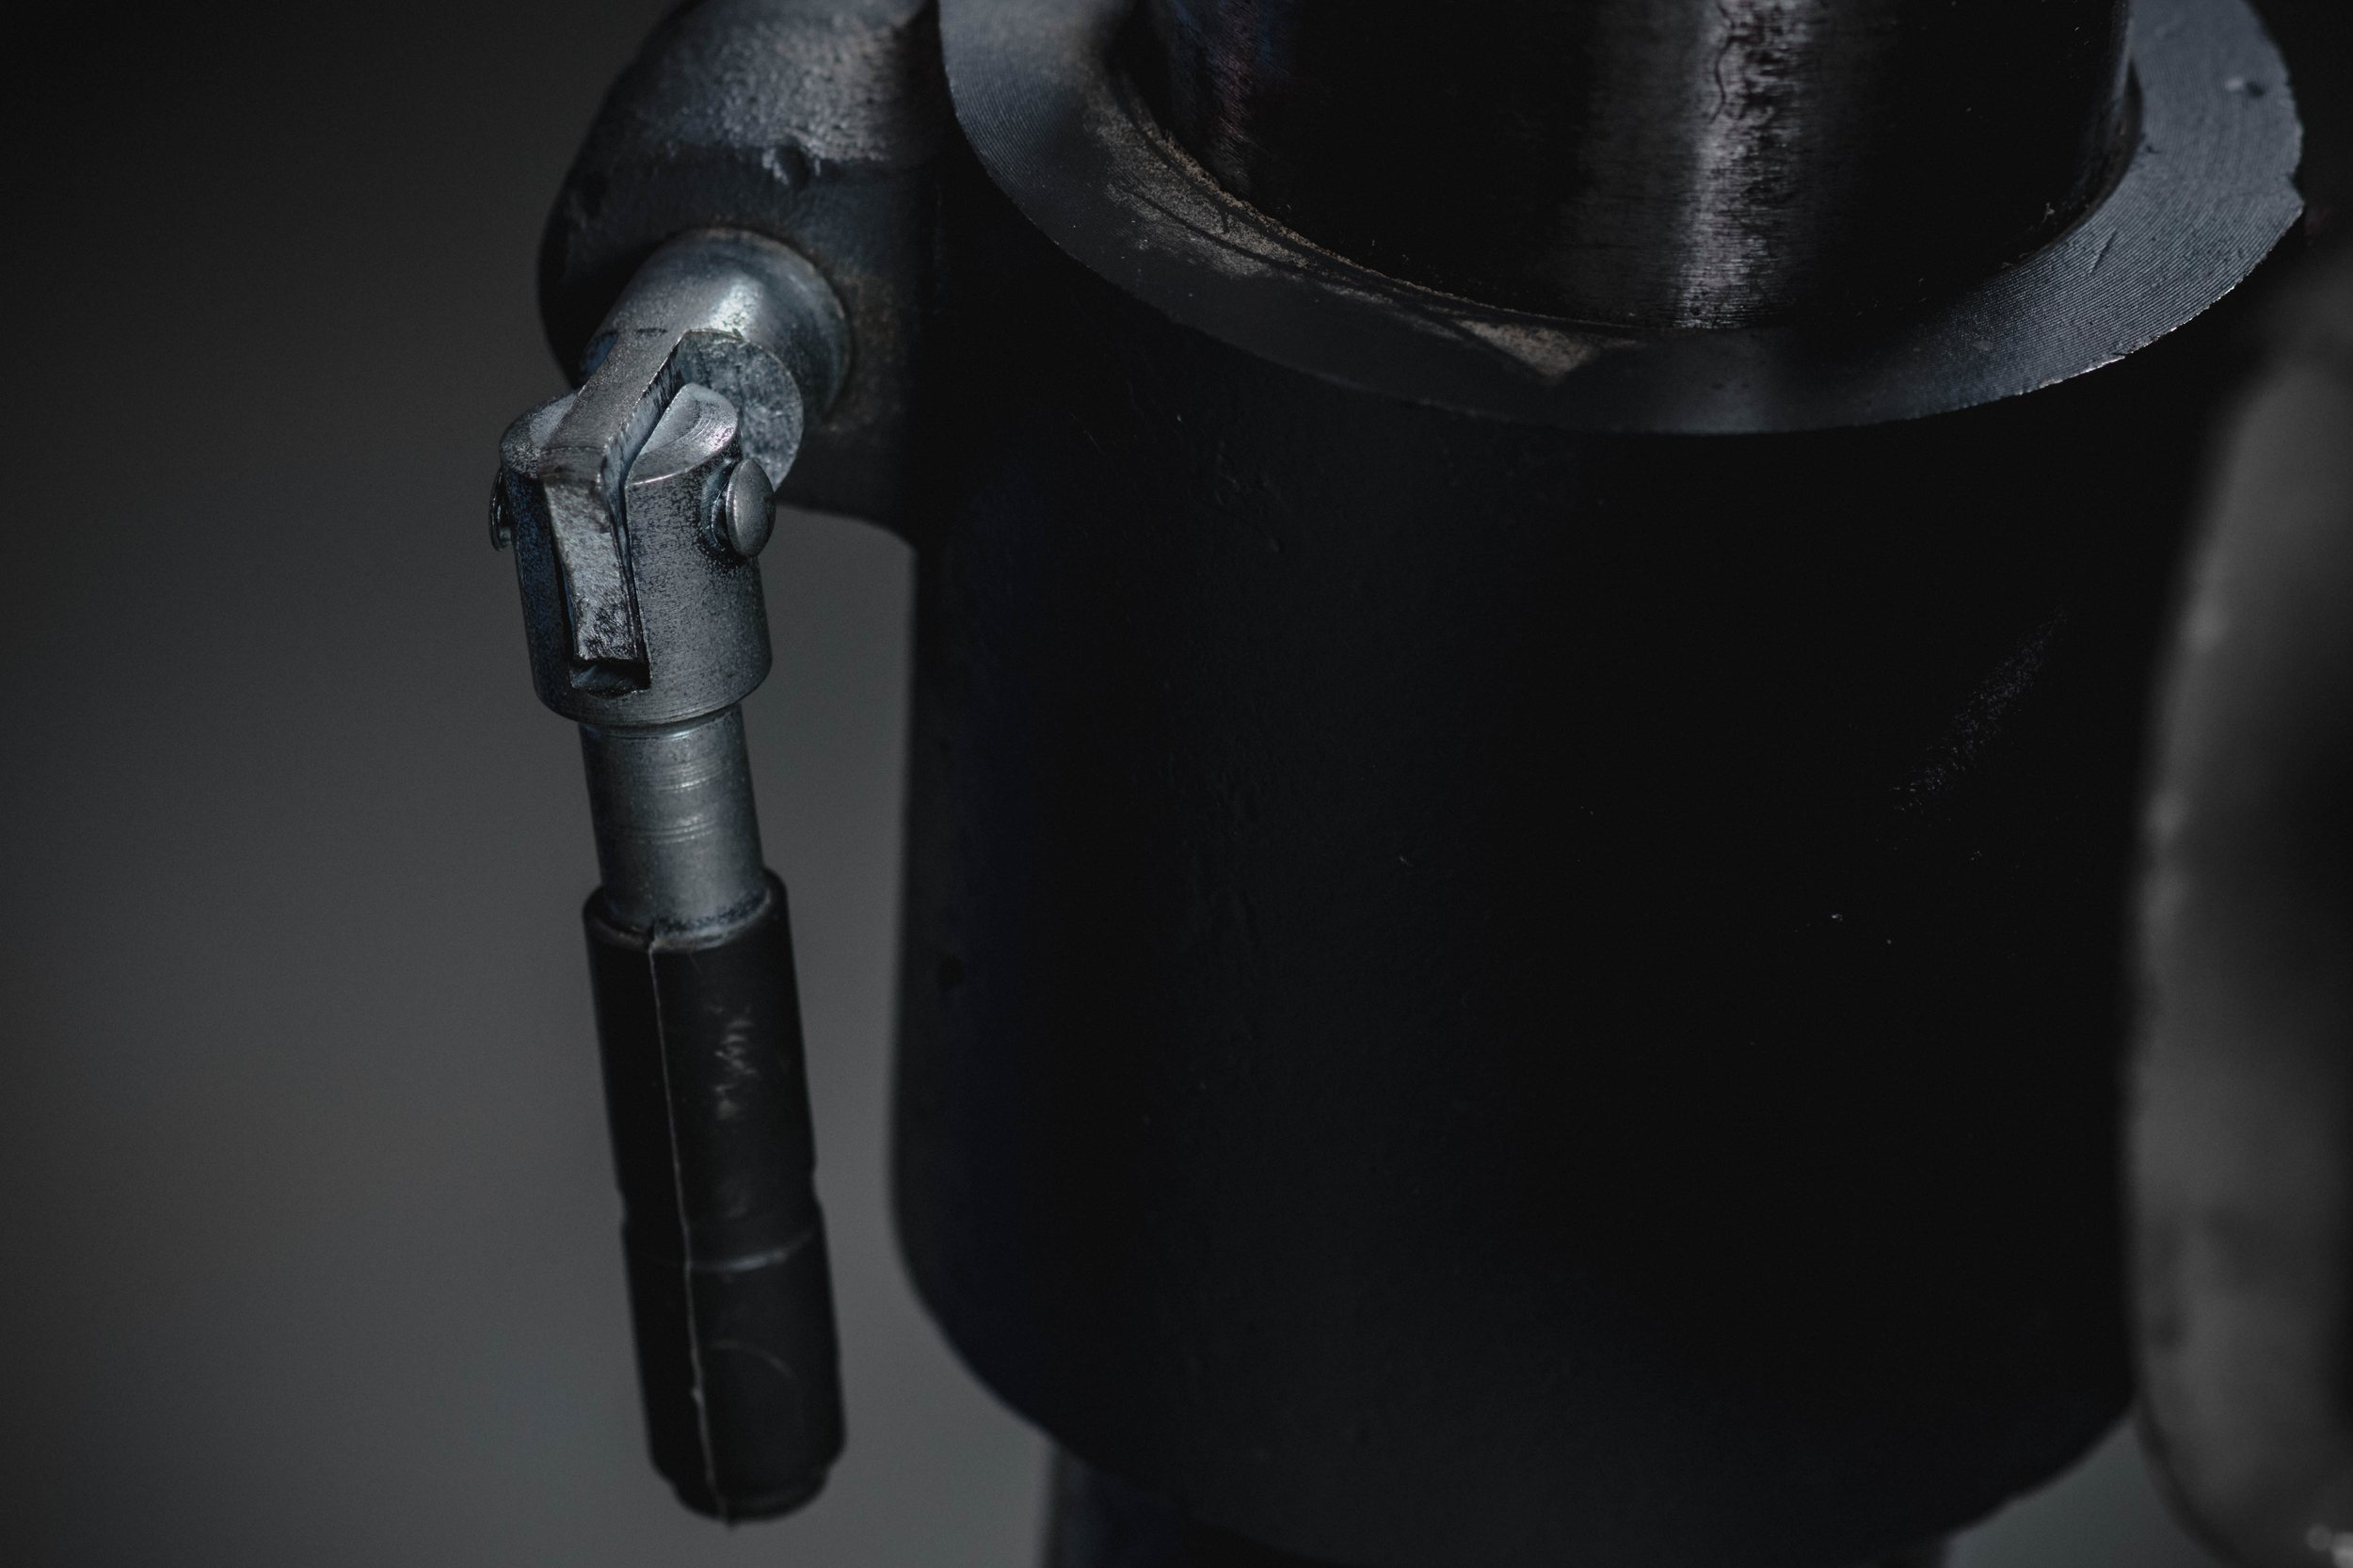
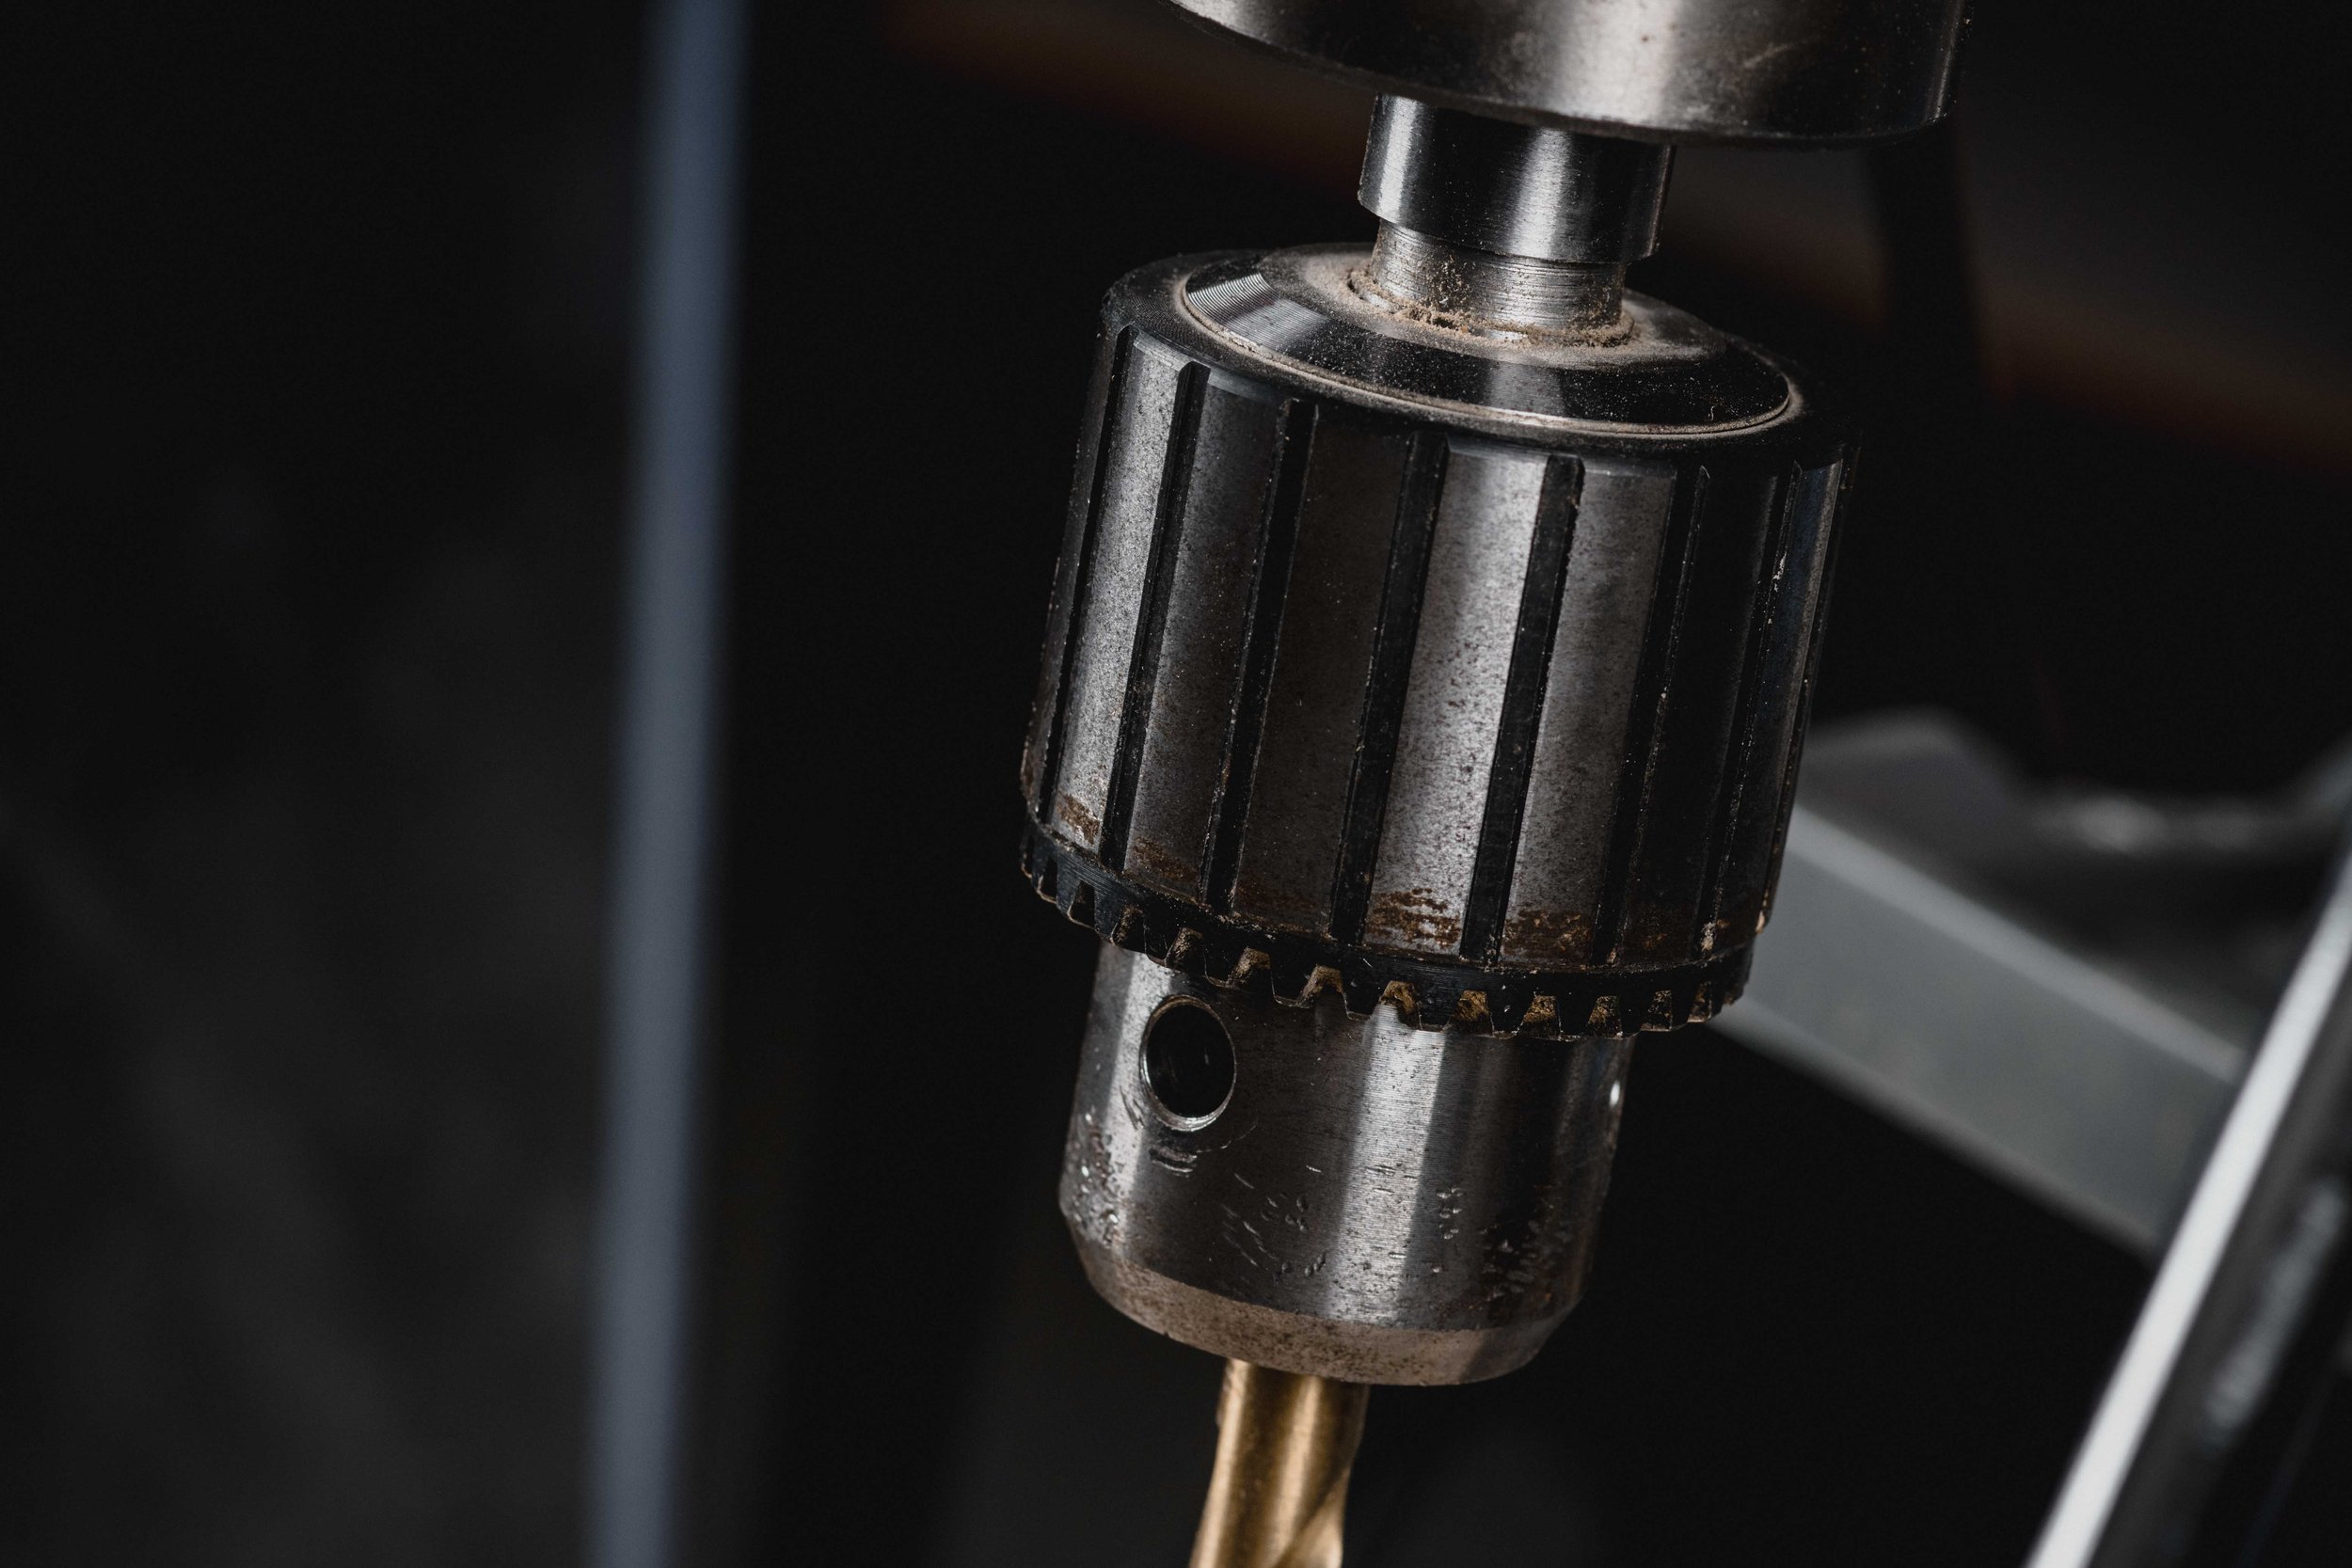
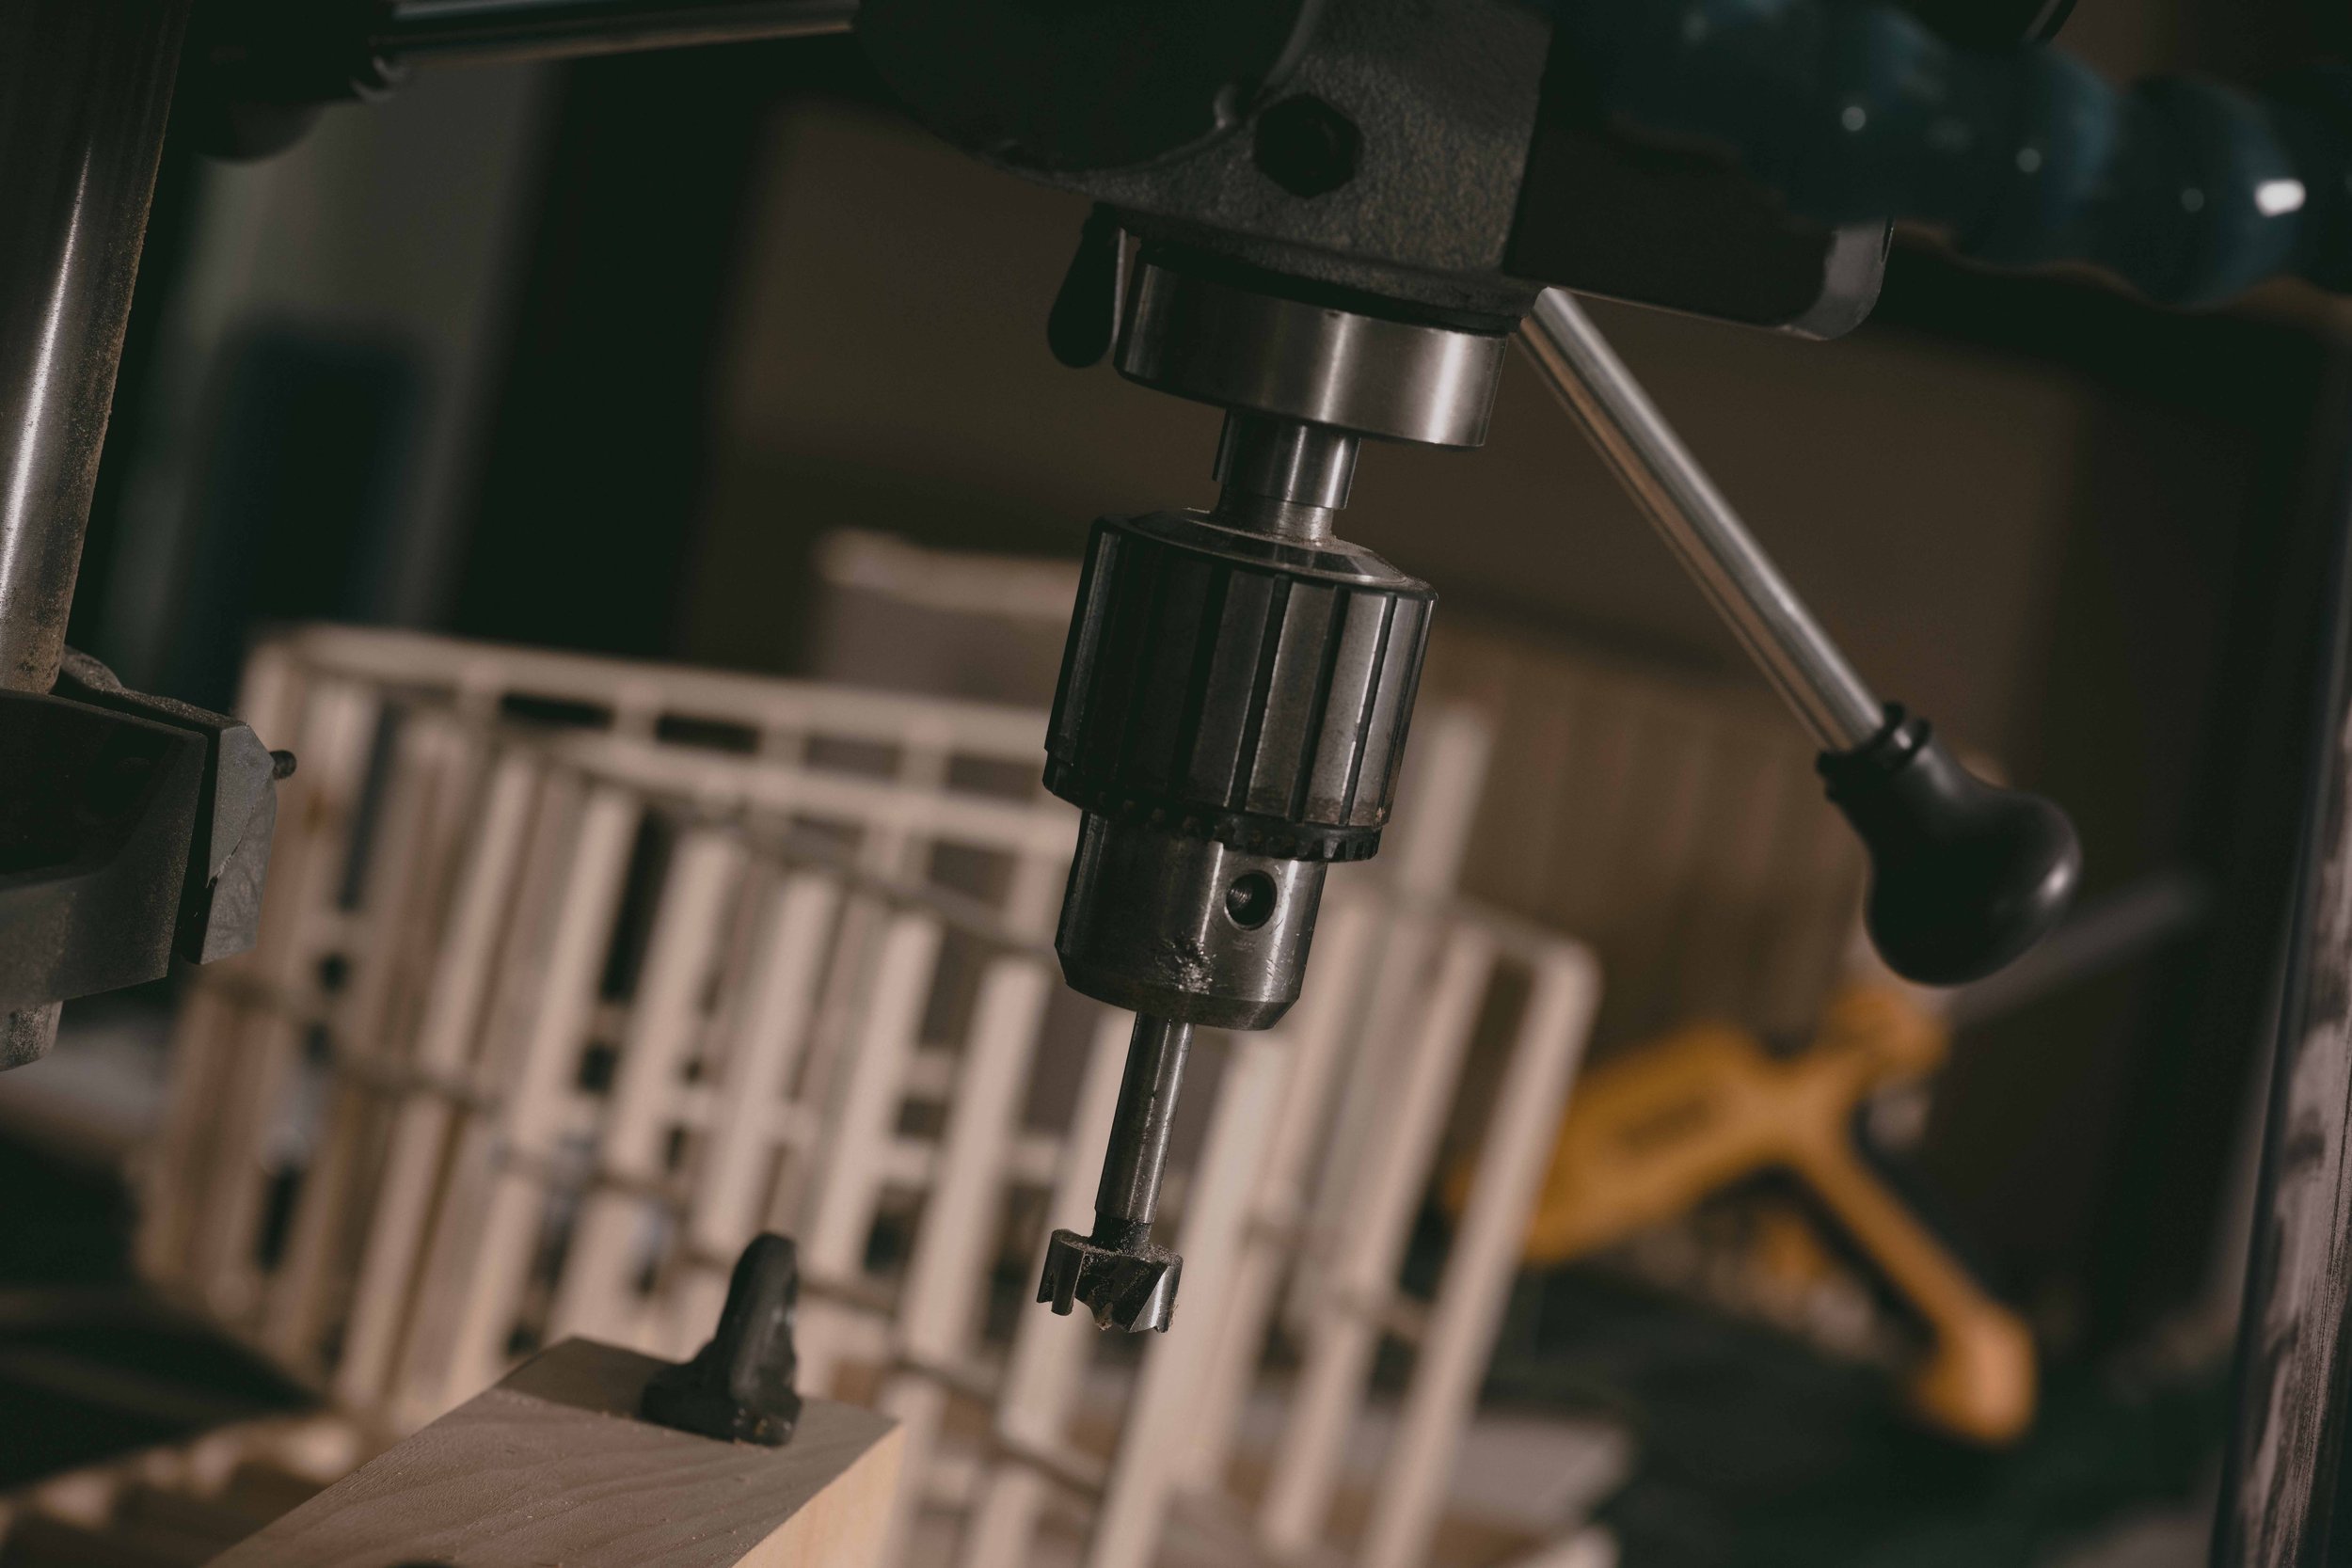
Three Jaw Chuck and Chuck Key
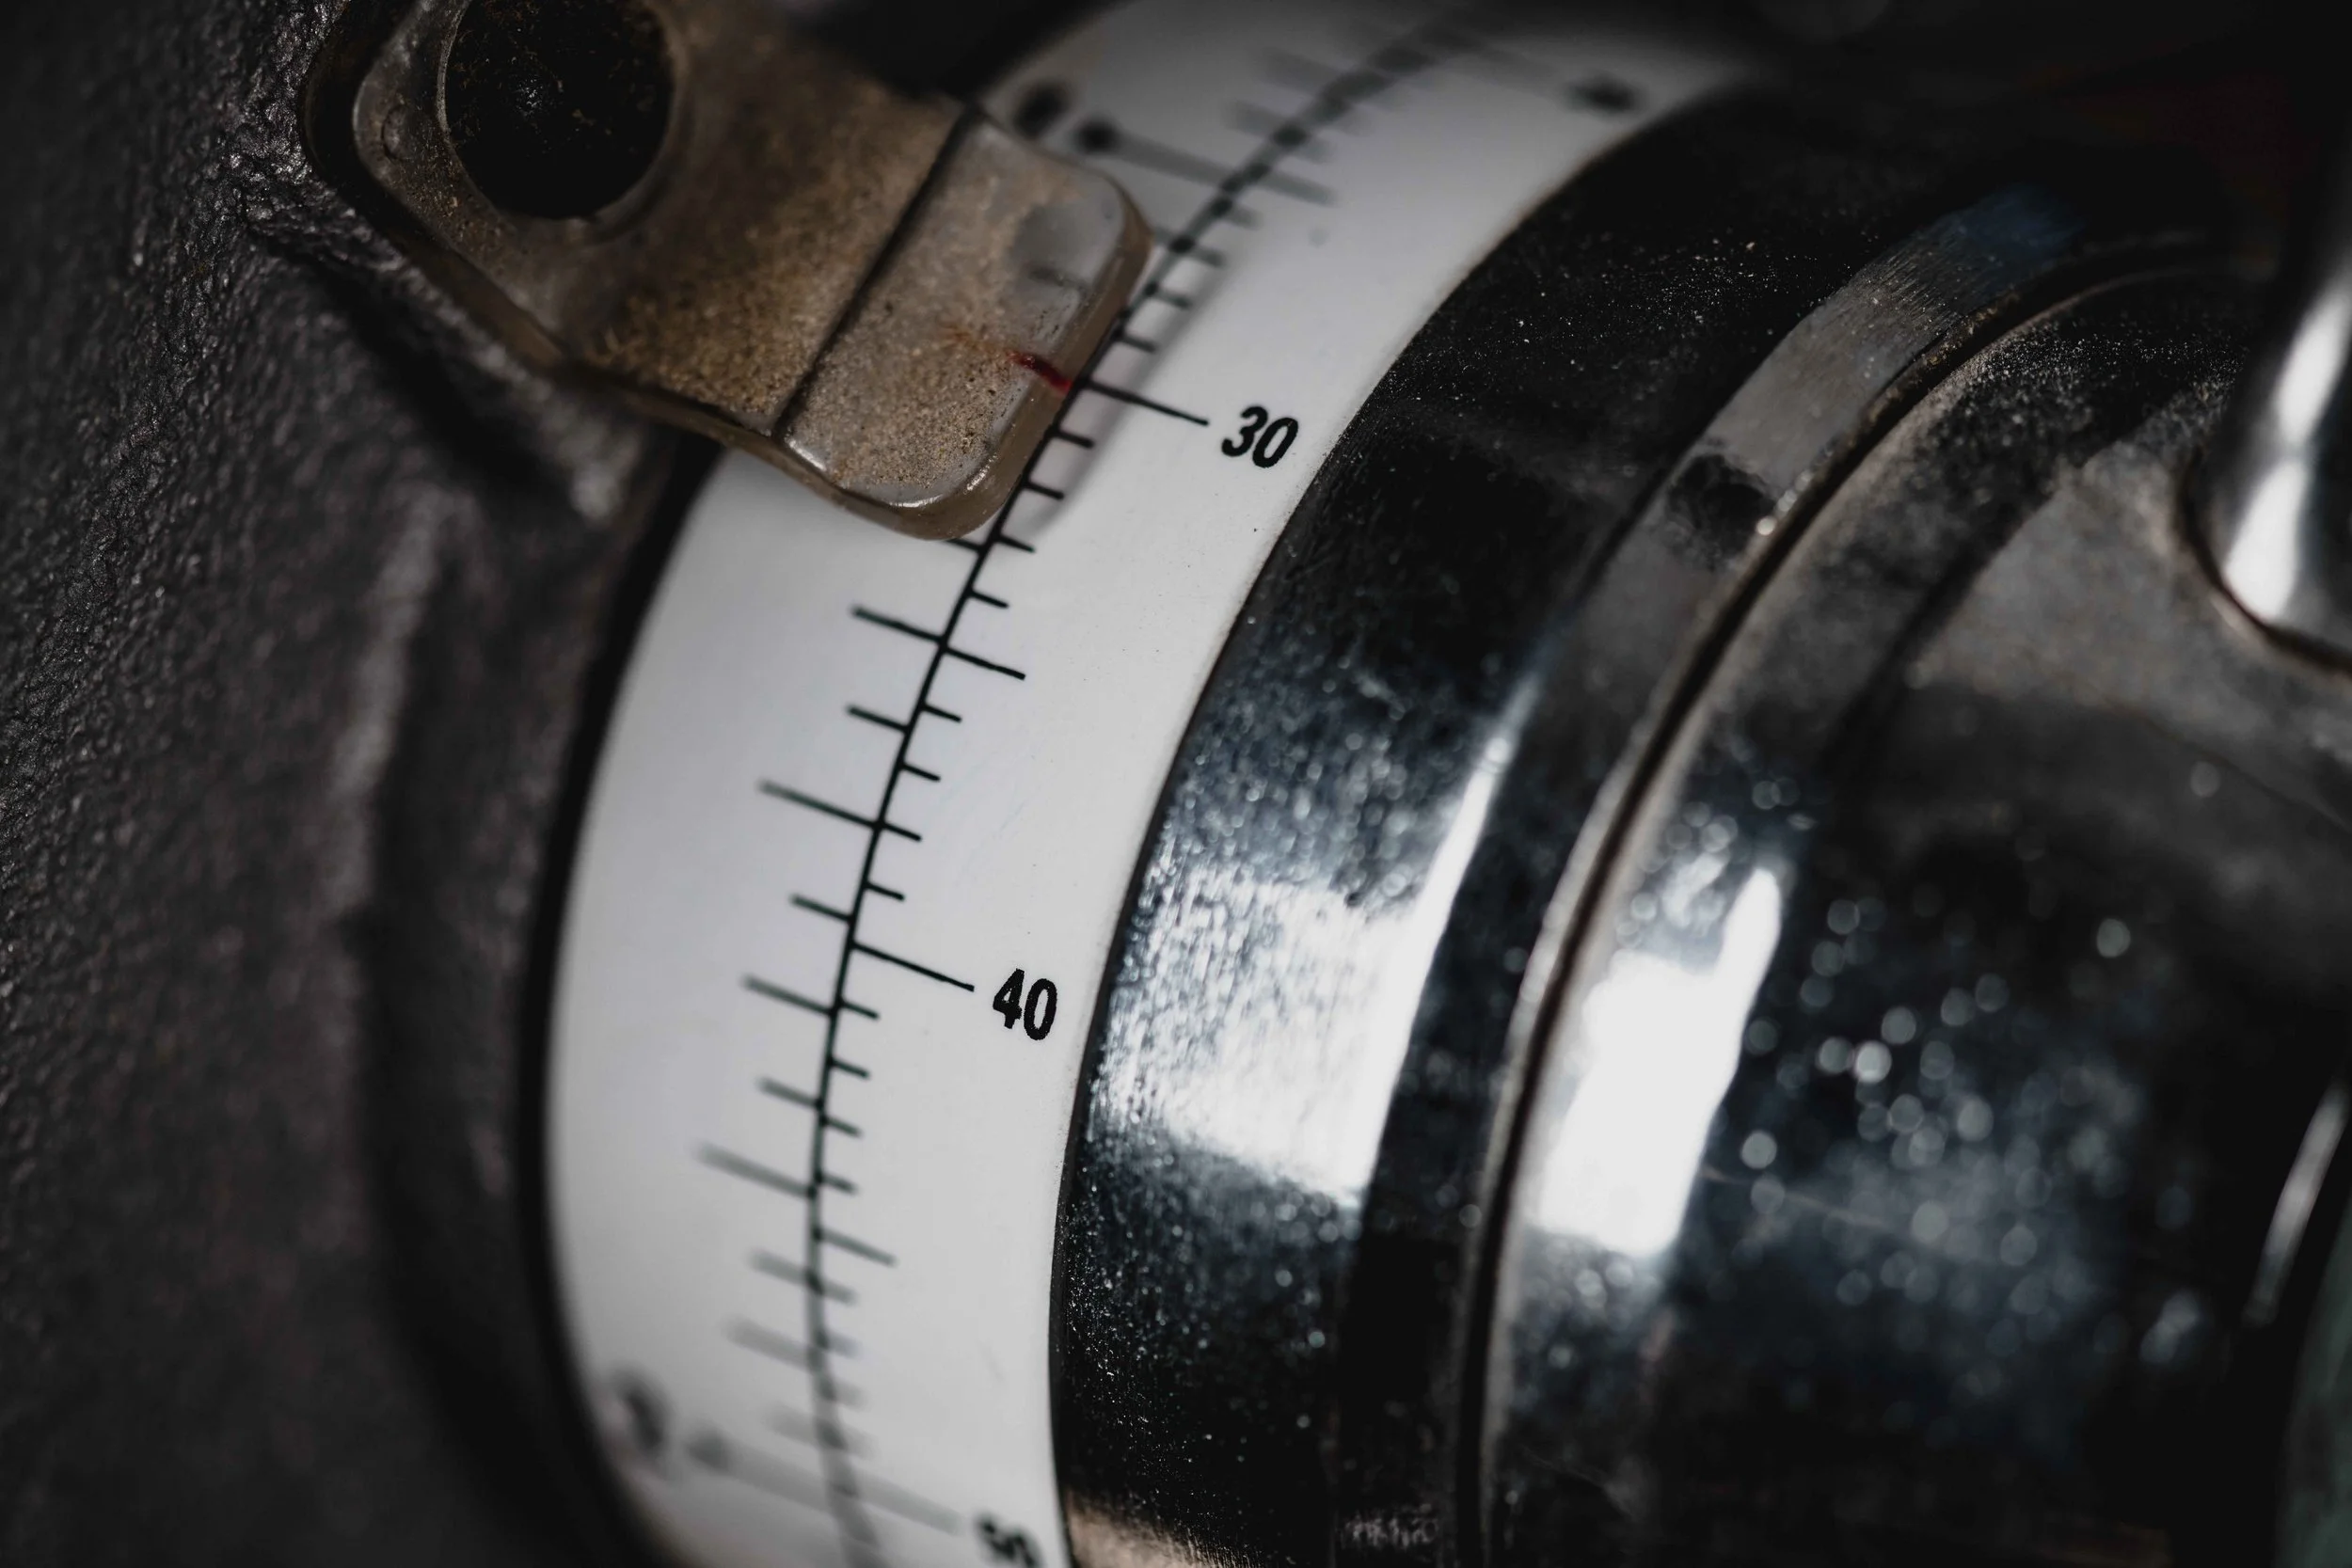
Tilting Table and Fence, Table Raise/Lower Crank and Tilt Lock
Guard
Clamps
Light Controls
Base/Stand, relative operator location (non-slip surface) and work area (floor painted lines)
Motor
Column
Tool-Appropriate Bit Location
Off-cut disposal location
While there are many other components, these are the main ones you will be expected to have a familiarity with in order to pass your student safety passport assessment demonstration. You will also be expected to know that you are required to remove jewelry, adjust or tie back any loose clothing or hair to ensure it is safely away from the tool, and always wear proper eye protection (safety glasses or protective shield) and put it on before starting the tool. Materials should be secured properly to the table, with appropriate clamping to deliver an effective amount of pressure, in such a manner that neither the project material nor the clamps in any way impede your access to critical elements, nor cause the tool to operate in a manner it was not designed to. All personal protective equipment is a must, and you must use it at all times.
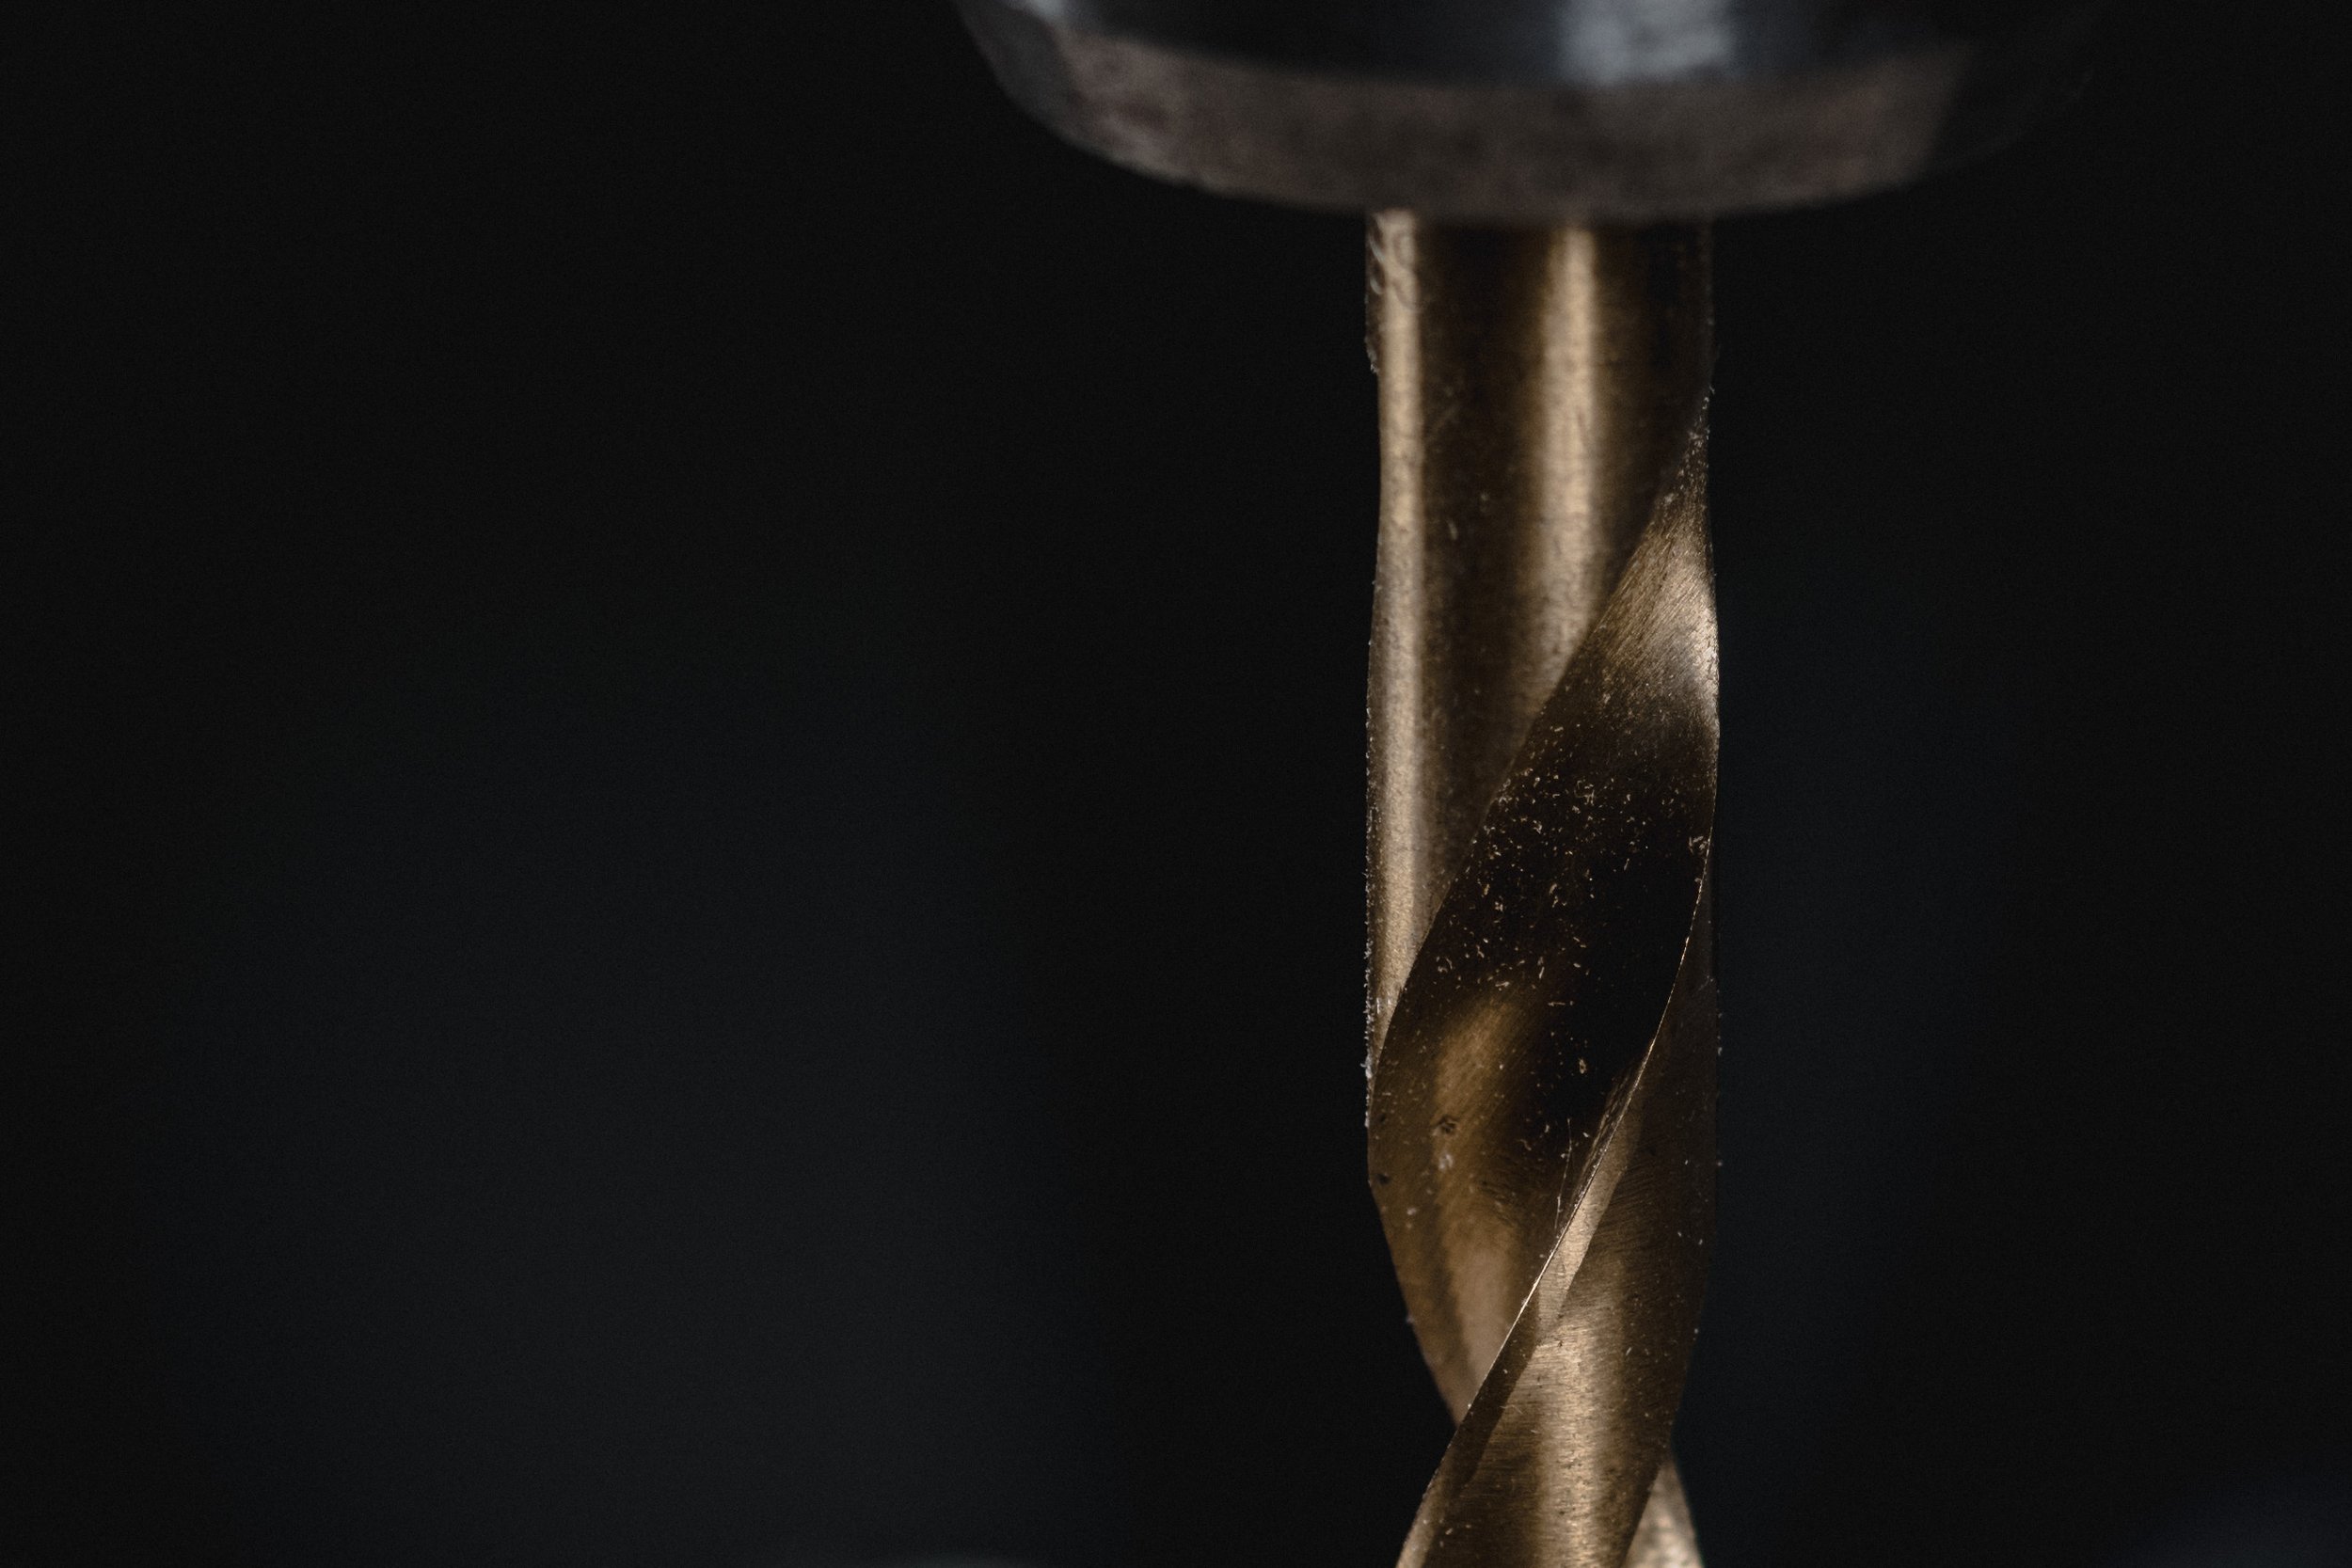
Be certain you have accounted for the depth of the drill in your work. You can set the bit depth manually, or have the table set to a height which stops you from going too deep into the material. Either way, you should have an appropriate material below the project material to protect the table and the bit.
The drill press is particularly useful in that it can be broadly used for a multitude of materials, it works to enable a number of other tools we’ll be exploring through projects in our class, and when used properly it can produce incredibly precise results that would otherwise be difficult from a tool like a cordless drill. Though it is a versatile tool, you should always operate it from the front. Make a practice of thinking not only of alignment of the bit to the material, but consider your workflow and if your clamps or materials might get in the way of things like the feed handles. Always ensure that your fingers stay out of the path of the bit, that the bit is secured by confirming on each jaw with the chuck key, and that the chuck key is returned to its proper holder.
A video on the drill press used in metal drilling made by OCTE toolSAFE.
Some materials have imperfections, bits break, clamps get bumped, and other such things (though rare and generally preventable) may unexpectedly happen from time to time. Should a piece of work slip loose, never attempt to grab/catch it while the machine is still running. If at any point the drill should become lodged in the work piece, shut down the motor and attempt to rotate the chuck manually to free it up. However, if that does not free the bit, do not attempt to use other tools, lubricants, or processes to resolve the problem - simply report the issue to your instructor. Kindly remember that the drill press is not just used for wood and softer materials, but it can be used for metal projects. With that in mind, some of the shavings can be incredibly small and sharp, to the point where you may not see them. Please only clear away things like dust, debris, shavings and curls with a brush - not with exposed hands.
Though we often work in teams, the drill press a one-person tool, and operating it while talking with others, or allowing others to be within the operational area, is not permitted. Broken bits or materials may come loose and injure others if they are too close, so kindly remember that your attention needs to be at all times on the tool, the material, situational awareness of your environment and your safe operation within the shop. Also remember that tools with prominent rotating elements like this represent a hazard for loose articles or hair, so do not allow anyone else near the tool while it is being operated as it can pose an extreme hazard. For full detailed understanding of your expectations, please refer to the shop rules in the classroom online workspace, the OCTE site, the board site, your course outlines, or the linked documents at the bottom of the page.
VIDEO RESOURCES
Here are some videos on the drill press for you to learn from or review. They are here to support your understanding, but not to prepare you for your student safety passports. As these are not OCTE videos, you should refer back to your instruction in class, the OCTE-approved guidelines and instructional materials linked at the bottom of the page, or speak to your teacher if you have any questions.
A video on the fundamentals of the drill press as developed by TechEd Learning.
An interesting video on the impact of adjustments to RPM on hole quality relative to bit types:
This video explores the controversy regarding speed and producing clean holes as developed by Make Things.
Remember, though he demonstrates on the same type of press we use, our Rigid drill press is locked and you are not allowed to make such adjustments.
Supporting Accessories
Examples of Drill Press accessories as demonstrated by WOOD magazine. This is not an OCTE video, please do not use or attempt anything we do not instruct in class.
Beyond adjustable tables and specialty bits, generally people don’t often think about accessories for their drill presses, but there are many great accessories to enable the tool to be even more versatile. Please feel free to watch this for techniques or ideas, but realize that many of the elements demonstrated do not reflect things we will explore in our classes. Do not attempt to modify our drill or use any techniques displayed without first securing express permission from your instructor.
Drill Press Safety
A Drill Press safety video developed by WoodWorkWeb. Though they do not use the same model we have in our shop, the concepts are universally applicable.
Much like scroll saws, drill presses are among the safest tools we’ll be using in our shop. However, there are always risks to consider. Unfortunately this person does not follow every precaution we do in the shop (Wear personal protective eyewear at all times in the shop!!!), but he does introduce very valuable concepts to consider. Take a look at the video here to see what we can do to be as safe as is possible with our drill press and ensure success in our projects. If in doubt of anything at any time, stop working, safely shut off the machine, and ask your instructor.

Safety Rules for the Drill Press
At all times, as with the majority of the corded power tools in our shop, the emergency shut-off looks like this. The stop is at thigh-level, and should be the default means for turning off the tool,
Seek teacher’s permission before using the machine, ensure that the project itself has been approved, and that you have satisfied the required tool qualifications on your student safety passport
Never operate any machine while under the influence of medicine, drugs, or alcohol, if you are fatigued, or otherwise emotionally/psychologically impaired. If you have any uncertainty about your ability to operate a tool or piece of equipment safely, immediately bring this to the attention of your instructor
Use appropriate PPE (eyewear, ear protection, guard, etc.), ensure that jewelry is removed, and that loose/long hair, as well as articles of clothing are tied back or otherwise secured or removed
Inspect work area for cleanliness (consider debris under the table where you might step while moving the material, the table itself, and along any recesses or grooves)
Inspect the material for foreign materials, damage, or potential quality/grain issues (Consider staples in the ends, rocks from the ground of a lumber yard, straps, nails, etc.). All material must have one face surfaced and one edge jointed prior to work to enable the fence and table face to be used most effectively
Ensure the bit is sharp and drill speed is appropriate, the tool and its parts are in good condition, and the settings/bits are appropriate for the material; Also, that the material is securely fixed to the table and fence, that the bit is secured into the chuck and aligned correctly, that the depth of the drill has been adjusted for, and that the table has an appropriate covering should the drill extrude from the bottom of the project material
Remove chips, shavings, sawdust or other debris with a brush or push stick - never an exposed hand. To remove burrs or debris from a hole, again, use a brush or file - not compressed air or an exposed hand
Feed the bit slowly and consistently into the material, drawing the bit out often to clear shavings
Remember that the bits can become incredibly hot after prolonged friction, so work carefully - as it may still cause burns even when you think the machine is off and danger is therefor less
Inspect and use the guard(s) appropriately every time, and also ensure that the table is locked in the proper place relative to the work you are doing
Keep your hands out of the path of the bit, and remember that you are not allowed to use the tool “free-hand” (where the material is not secured to the table with proper clamping). Never reach around or behind an operating drill
If the bit breaks, or the project materials break, turn off machine and keep hands clear until the machine has come to a full stop
Aside from bit changes, material adjustments, table height/angle adjustments, and general cleaning, any other adjustments to the tool are to be done by the teacher or a board-approved professional ONLY
Ensure the tool is off and the bit is completely stopped or removed entirely when removing any pieces, large or small
SEE FURTHER SAFETY DIRECTIONS IN THE LINKED SUPPORTING RESOURCES MATERIALS AT BOTTOM OF THE PAGE
Supporting Resources
Tool Specific:
OCTE Drill Press Safety Info Sheet
OCTE Drill Press Presentation
Broader Supporting Resources:
OCTE Health and Safety
OCTE SAFEdocs
OCTE toolSAFE
All supporting resources and much of the content are drawn directly from guidelines, standards, and materials on the OCTE pages; they are simply linked here for learner reference, and ease of instruction, however neither this page, nor the other materials represent OCTE. The other resources such as YouTube links, are included for learner refreshers.